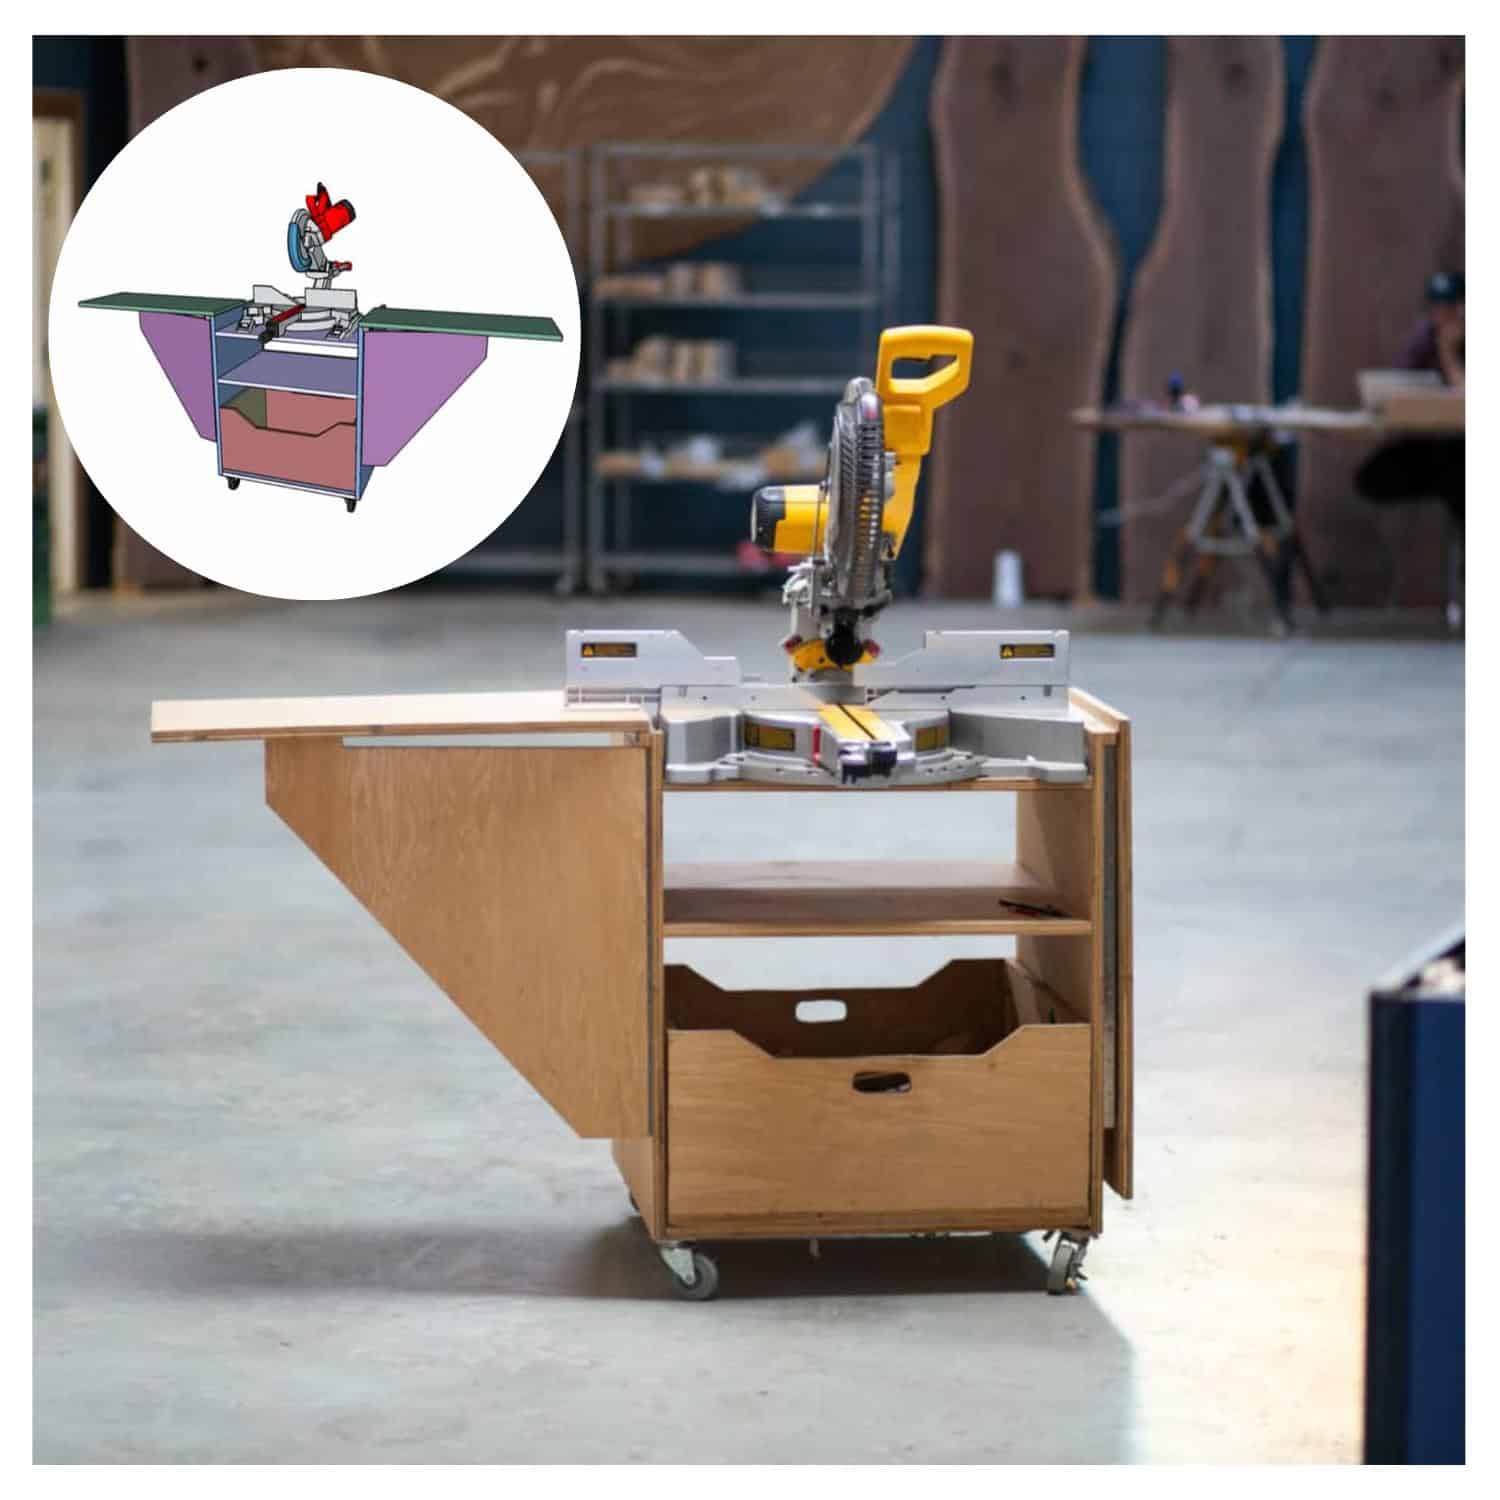
You’re standing in the middle of a garage that smells like sawdust and old coffee, staring at a 12-foot 2x4 that needs to become a 45-degree corner for a door frame. If you’ve ever tried to muscle a long piece of lumber across a standard chop saw, you know the dance. It’s awkward. It’s dangerous. It's usually inaccurate. Honestly, getting a sliding miter saw with stand is the moment you stop being a hobbyist and start actually building stuff that fits together the first time.
Most people start their tool collection with a drill and maybe a circular saw. But the second you move into trim work, deck building, or even just building a sturdy workbench, the limitations of a fixed-blade saw become a massive headache. You need reach. You need stability. A sliding miter saw gives you that horizontal travel—the "slide"—that lets you cut through wide boards like 1x12 shelving or beefy 4x4 posts without flipping the wood over and praying you lined up the marks correctly.
But here is the thing: the saw is only half the battle. If that saw is sitting on a wobbly plastic folding table or, heaven forbid, the floor, you're asking for a trip to the urgent care clinic. A dedicated stand isn't just a luxury. It’s the backbone of the entire operation. It provides the outfeed support that keeps a long board from acting like a seesaw the moment you finish your cut.
The Physics of the Slide and Why It Beats a Standard Chop Saw
A traditional miter saw is a pivot tool. It goes up; it goes down. Simple. However, a sliding miter saw with stand utilizes a rail system. This allows the motor and blade assembly to move forward and backward.
Think about the math. A standard 10-inch miter saw can usually crosscut a board about 5.5 to 6 inches wide. That’s fine for a 2x4 or a 2x6. But what happens when you’re installing baseboards that are 7 inches tall? Or you’re building a farmhouse table with 10-inch wide planks? With a fixed saw, you're stuck. With a slider, you pull the blade toward you, push down, and slide it back through the wood. Suddenly, your cutting capacity jumps to 12 or even 14 inches. It’s a game-changer for versatility.
Some old-school woodworkers will tell you that sliders are less accurate because the rails can "deflect." They aren't entirely wrong. If you buy a cheap, bottom-shelf unit, those rails might flex a millimeter or two when fully extended. But if you’re looking at modern engineering from brands like Bosch with their "Axial Glide" system or the high-end Festool Kapex, that deflection is virtually non-existent. You get the reach of a radial arm saw with the precision of a surgical tool.
Why the Stand is Not Optional
Let's talk about the stand. You’ve seen them—those yellow or red folding metal contraptions that look like a glorified ironing board. Don't be fooled.
A quality stand for a sliding miter saw does two things that your workbench can't. First, it offers extendable arms. If you’re cutting an 8-foot piece of crown molding, five feet of that wood is hanging off the side of the saw. Without a stand's support arms, gravity takes over. The wood tilts, the cut binds the blade (which can cause a dangerous kickback), and your miter joint ends up looking like a gap-toothed smile.
Second, portability is king. Most modern stands, like the DeWalt DWX726 or the Bosch Gravity-Rise, have wheels. You can keep the saw bolted to the stand and roll it into the corner of the garage when you’re done. If you've ever tried to lift a 65-pound sliding miter saw off a high shelf, your lower back is probably screaming just thinking about it. These stands take the weight and make the tool "mobile-ish."
Real-World Nuance: 10-Inch vs. 12-Inch Sliders
This is where people get tripped up. The instinct is to go big. "I'll get the 12-inch blade because more is better, right?"
Not necessarily.
A 12-inch sliding miter saw with stand is a beast. It’s heavy. The blades are more expensive to sharpen or replace. Most importantly, a 12-inch blade has more surface area, which means it’s more prone to slight wobbles (harmonic vibration) than a stiffer 10-inch blade.
For 90% of home renovations, a 10-inch slider is the "sweet spot." It’s lighter, the blades are cheaper, and because the motor doesn't have to spin a massive disc, the starts are often smoother. However, if you are framing a house and cutting 4x4 or 6x6 pressure-treated lumber all day, you need the 12-inch. The 10-inch just won't clear the thickness in a single pass.
Dust Collection: The Dirty Truth
We need to be honest here: miter saws are the messiest tools in the shop. They throw dust everywhere. Even the best "dust bags" that come in the box catch maybe 15% of the debris.
If you’re working indoors, you have to hook these up to a shop vac. Look for a saw with a 2.5-inch dust port. Some newer models have a rubber "finesse" flap behind the blade that helps funnel the chips into the vacuum stream. It’s still not perfect, but it beats wearing a layer of oak flour on your face for three days.
The Secret to Perfect Miters (It's Not the Saw)
You can spend $800 on a top-tier sliding miter saw with stand, but if you use the blade that came in the box, your cuts will look "meh."
The "stock" blades included by manufacturers are usually general-purpose blades with 32 or 40 teeth. They are fine for framing a shed. They are terrible for finishing a cabinet. If you want those buttery-smooth joints, you need to swap that out for a high-tooth-count finishing blade—something with 60 to 80 teeth. Look for brands like Freud (their Diablo line is the gold standard for most) or Forrest. A high-quality blade on a mid-range saw will almost always outperform a cheap blade on a high-end saw.
Common Pitfalls and Misconceptions
People think a sliding miter saw replaces a table saw. It doesn't.
A miter saw is for cross-cutting (cutting across the grain/width). A table saw is for ripping (cutting with the grain/length). If you try to rip a long board on a miter saw, you’re going to have a very bad time and a potential hospital visit. They are partners, not competitors.
Another thing: the laser guides. Most saws now come with a red or green laser that shows you where the blade will hit. They are... okay. But lasers can get knocked out of alignment. The better tech is the "shadow line" (like DeWalt's XPS system). It uses LED lights to cast the actual shadow of the blade onto the wood. It’s impossible for a shadow to be "out of alignment" because it's literally the blade's physical position. It’s way more reliable in bright sunlight than a weak red laser.
Setting Up for Success
When you finally get your sliding miter saw with stand home, don't just start cutting. You have to calibrate it. Even the fancy ones can get bumped during shipping.
- Get a high-quality machinist square.
- Lower the blade (unplug the saw first!) and check if the blade is perfectly 90 degrees to the fence.
- Check the miter scale. If the saw says 0 but the square says 1 degree off, loosen the screws on the scale and nudge it until it's dead-on.
- Check the fence. Sometimes fences are "bowed." If the fence isn't straight, your cuts will never be consistent.
A miter saw that is 0.5 degrees off doesn't sound like a big deal until you try to make a four-sided picture frame. By the time you get to the fourth corner, that 0.5-degree error has compounded into a massive 2-degree gap that wood filler can't hide.
Actionable Next Steps for Your Shop
Ready to pull the trigger? Don't just buy the first thing you see at the big-box store.
1. Audit your space. Measure the footprint of the stand when it's fully extended. A sliding miter saw needs about 3 feet of clearance behind it for the rails unless you buy a "compact" slider (like the Makita or Bosch models that use forward-facing rails or arms).
2. Check the weight. if you have to move the saw to jobsites, look for a stand with large, rubberized wheels. Small plastic wheels are a nightmare on gravel or uneven driveways.
3. Budget for the blade. Factor in an extra $50-$80 for a high-quality finishing blade. It’s the single best "upgrade" you can make.
4. Test the slide. Go to a store and actually pull the handle. It should feel like it's on butter. If there is any "grittiness" or resistance in the rails, move on to a different model.
Building things is about the joy of creation, not the frustration of tools that don't work right. A solid sliding miter saw with stand removes the friction. It makes the "hard parts" of woodworking—the long cuts, the weird angles, the heavy lifting—feel easy. Once you have a setup that stays level and cuts true, you'll wonder why you spent so many years struggling with a saw on a pair of shaky sawhorses. It’s time to level up the shop.