You’re standing in the backyard, looking up at a sturdy-looking oak. You’ve got the lumber, the vision, and a half-charged drill. But honestly, most people mess this up before they even drive the first screw. They go to a big-box store, grab some galvanized lag bolts, and think they’re set. They aren’t. Using the wrong tree house hardware kit is basically a slow-motion recipe for a collapsed floor or, even worse, a dead tree.
Building in a living organism is weird. Trees move. They sway in the wind. They grow thicker every year. If you bolt a rigid beam directly to a trunk using standard deck hardware, the tree will eventually try to "swallow" the bracket or, more likely, the wind will pry those bolts out like a crowbar. That’s why specialized hardware exists. It’s not just a "premium" version of stuff you find at Home Depot; it’s engineered to let the tree stay a tree while your clubhouse stays a house.
The Tab Bolt: The Heavy Lifter You’ve Probably Never Seen
If you look at professional builds—the kind you see on those TV shows or at high-end retreats—they aren’t using hardware store bolts. They use something called a Treehouse Attachment Bolt, or a TAB.
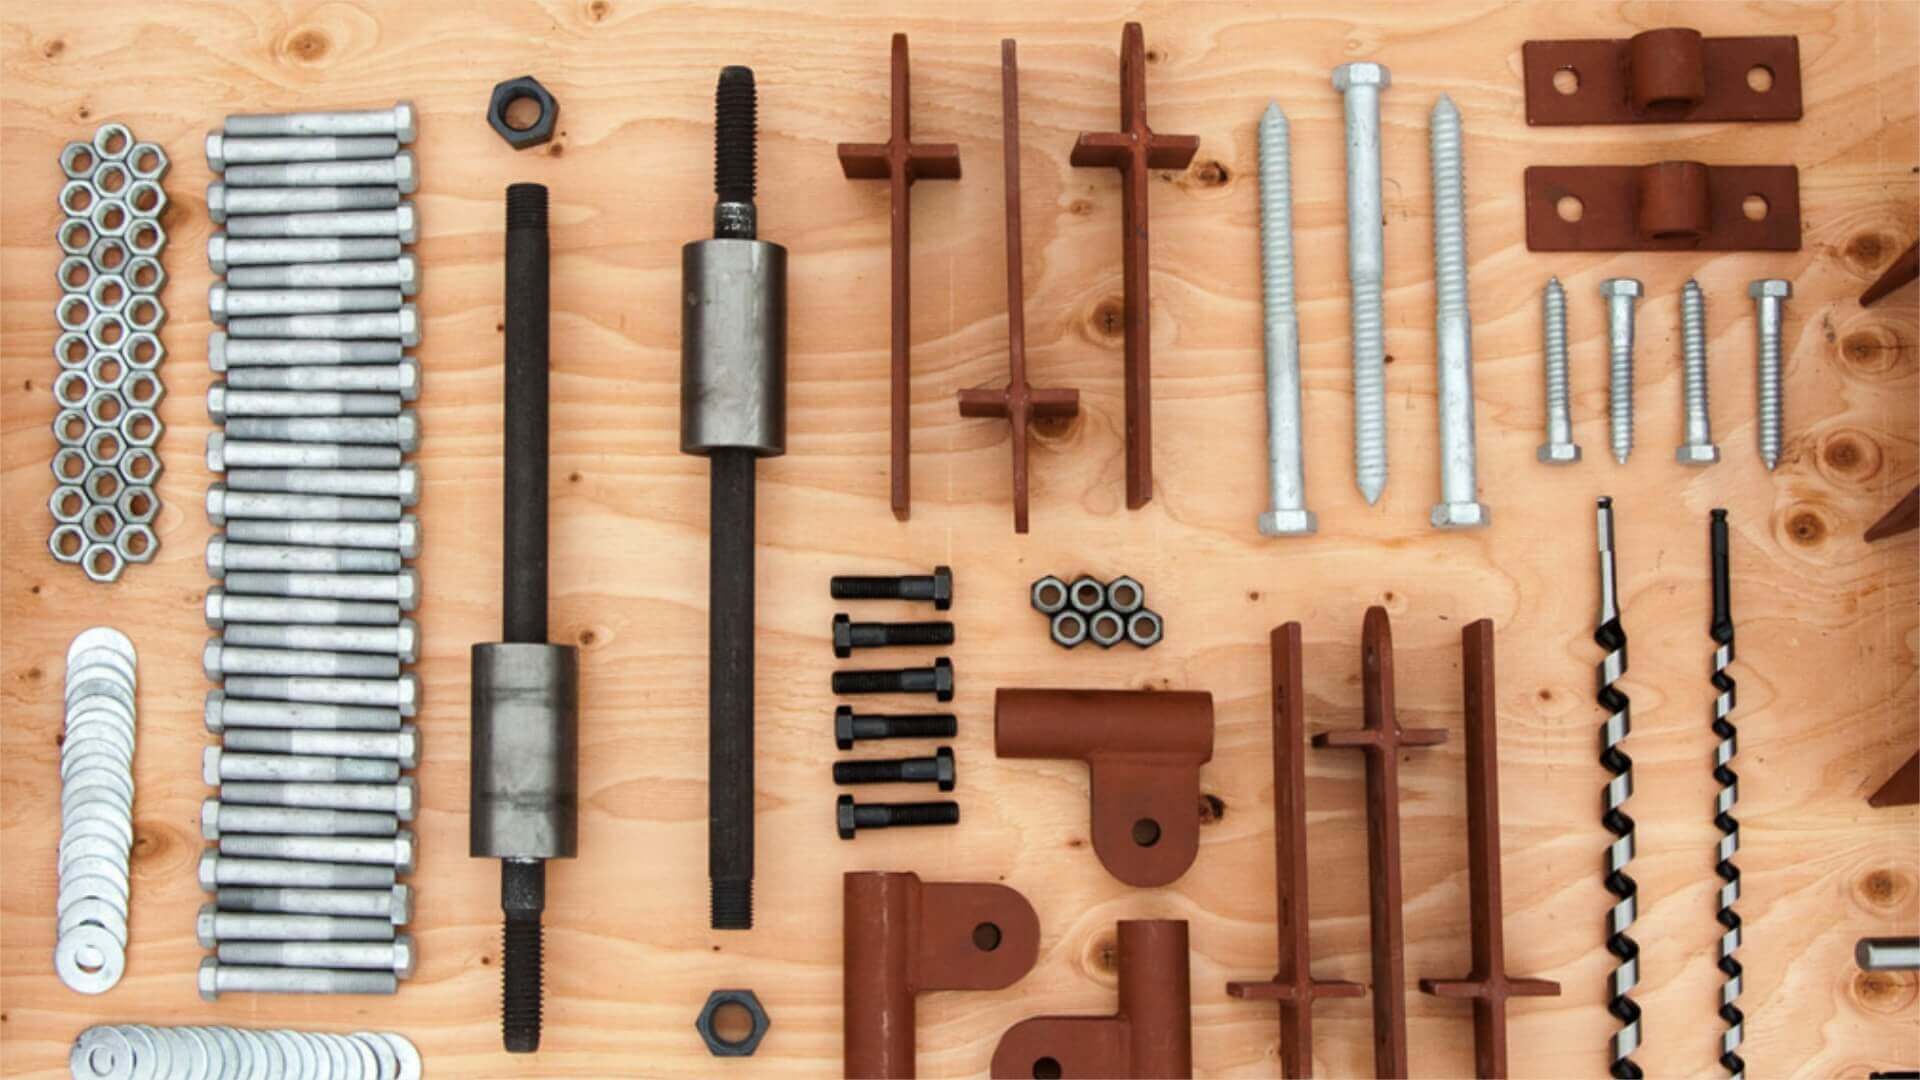
Invented by guys like Michael Garnier and refined by engineers like Charles Greenwood, the TAB is a beast. It’s a massive steel bolt with a coarse thread on one end and a large-diameter "boss" or collar in the middle. This collar is the secret sauce. Instead of the weight of your tree house resting on the skinny shank of a bolt, it rests on that wide collar which is seated deep into the heartwood. It can support thousands of pounds without bending.
Why the "Boss" Is Boss
When you use a standard tree house hardware kit that only includes lag bolts, the weight of the structure creates a lever effect. The further the beam sits from the tree, the more stress it puts on the bolt. A TAB’s collar transfers that load directly into the center of the tree. It’s the difference between holding a heavy suitcase with your fingertips versus resting it on your shoulder.
Trees Move—Your Hardware Better Move Too
Trees don't just sit there. On a windy day, a mature tree can sway several inches, or even feet at the canopy level. If you have a tree house spanning between two different trees, they are going to move in different directions. This is where most DIY kits fail.
You need dynamic hardware. Specifically, you need "sliding" brackets.
Imagine two trees moving apart in a gust. If your beams are fixed solidly to both, something has to break. Usually, it’s the wood of your frame or the bolts pulling out of the tree. A professional-grade tree house hardware kit will include a static attachment for one tree and a sliding attachment (often called a "floating bracket") for the other. This allows the beam to slide back and forth on a pipe or a smooth rod as the trees dance.
It sounds sketchy to have a house that "slides," but it’s actually the only way to keep it from tearing itself apart. I've seen builds where people used heavy-duty chains instead of brackets. While it's a "vibey" look, it’s incredibly loud and tends to chew up the bark, which invites rot and pests. Stick to the steel.
Don't Kill the Patient
Trees are living things. They have a circulatory system right under the bark called the cambium layer. If you wrap a chain around a branch or "girdle" the tree with tight U-bolts, you’re essentially cutting off its food and water supply. It will die.
Good hardware is designed to minimize the "wound." A single large hole from a TAB is actually much healthier for a tree than twenty small holes from a bunch of deck screws. The tree can compartmentalize one clean wound. It can't handle a "shotgun blast" of small punctures.
The Myth of "Through-Bolting"
Some old-school builders swear by drilling all the way through the tree and putting a nut on the other side. Please, don't do this. It creates a massive channel for decay to enter both sides of the trunk. Modern kits avoid this entirely. We’ve learned that the "blind" attachment of a TAB or a high-end lag screw is far superior for the tree’s long-term health.
What’s Actually Inside a Quality Kit?
If you’re shopping around, you’ll see price tags ranging from $100 to $2,000. It’s confusing. A basic, entry-level tree house hardware kit for a small, single-tree platform should generally include:
- One or two TABs (The big anchors).
- Static Brackets (To hold the beams tight to the anchors).
- High-strength lag bolts (For secondary bracing, not the main load).
- Specialized Drill Bits (You usually need a multi-step bit to create the seat for the TAB's collar).
Higher-end kits for multi-tree builds will add those sliding brackets I mentioned, plus perhaps some heavy-duty suspension cables. Companies like Treehouse Supplies or Nelson Treehouse are the gold standard here. They aren't cheap, but they are the experts.
The Cost of Cutting Corners
I once helped a neighbor fix a platform that was "sagging." He’d used standard 1/2-inch lag bolts from a local hardware store. Over three years, the tree had grown about an inch in diameter. That growth had pushed the beam outward, bending the bolts downward. The wood was literally spitting the hardware out.
We had to jack up the entire structure, remove the bent bolts (which was a nightmare), and retrofit it with proper TABs. It cost him three times what it would have if he'd just started with the right kit.
Choosing the Right Tree
Even the best tree house hardware kit won't save you if you pick a rotten tree.
- Species Matters: Oaks, Maples, and Douglas Firs are great. Willows and Poplars are too soft and brittle.
- Health Check: Look for "conks" or mushrooms growing on the trunk. That’s a sign of internal rot.
- Root Space: If there’s construction nearby that cut the roots, that tree is a hazard.
Step-By-Step: Installing the Core Anchor
You don't just "screw it in."
First, you have to determine the height. Remember that trees grow from the top, but the trunk doesn't actually "rise." A bolt placed five feet off the ground today will still be five feet off the ground in twenty years. It will just be deeper inside the tree.
You'll need a heavy-duty 1/2-inch drive drill. A standard cordless might smoke its motor trying to drive a TAB. You drill the pilot hole, then use the specialized Forstner bit to create the "boss" seat. When you're screwing the TAB in, you'll likely need a massive pipe wrench for leverage. It's an absolute workout. Once it's in, you don't want it touching the bark—leave about an inch or two of space for the tree to grow before it hits the bracket.
Vital Action Steps for the Serious Builder
If you are ready to stop dreaming and start drilling, stop looking at Pinterest and start looking at your local arboriculture rules. Then, follow these specific moves:
- Audit Your Tree: Hire a certified arborist for an hour. It usually costs about $100-$150. Ask them specifically if the tree can handle the load and where the healthiest attachment points are.
- Match the Kit to the Plan: If you are building between two trees, you must buy a kit with at least one sliding/floating bracket. Do not compromise on this.
- Check the Steel: Ensure your kit is made of "Grade 5" steel or better. It should be galvanized or powder-coated to prevent rust. Stainless steel is even better but significantly more expensive.
- Tool Check: Before the kit arrives, ensure you have access to a 1/2-inch corded drill and a 24-inch pipe wrench. Most people's toolboxes aren't beefy enough for professional tree house hardware.
- Growth Gap: When installing, always leave a 2-inch gap between the tree trunk and your beams. This "growth gap" prevents the tree from destroying your floor joists as it expands over the next decade.
Building a tree house is a legacy project. It’s a place for kids to grow up and for adults to escape. Using the right hardware ensures that the tree survives the experience as well as the inhabitants do. Invest in the steel now, or you'll be tearing down a pile of rotted lumber and broken dreams in five years.