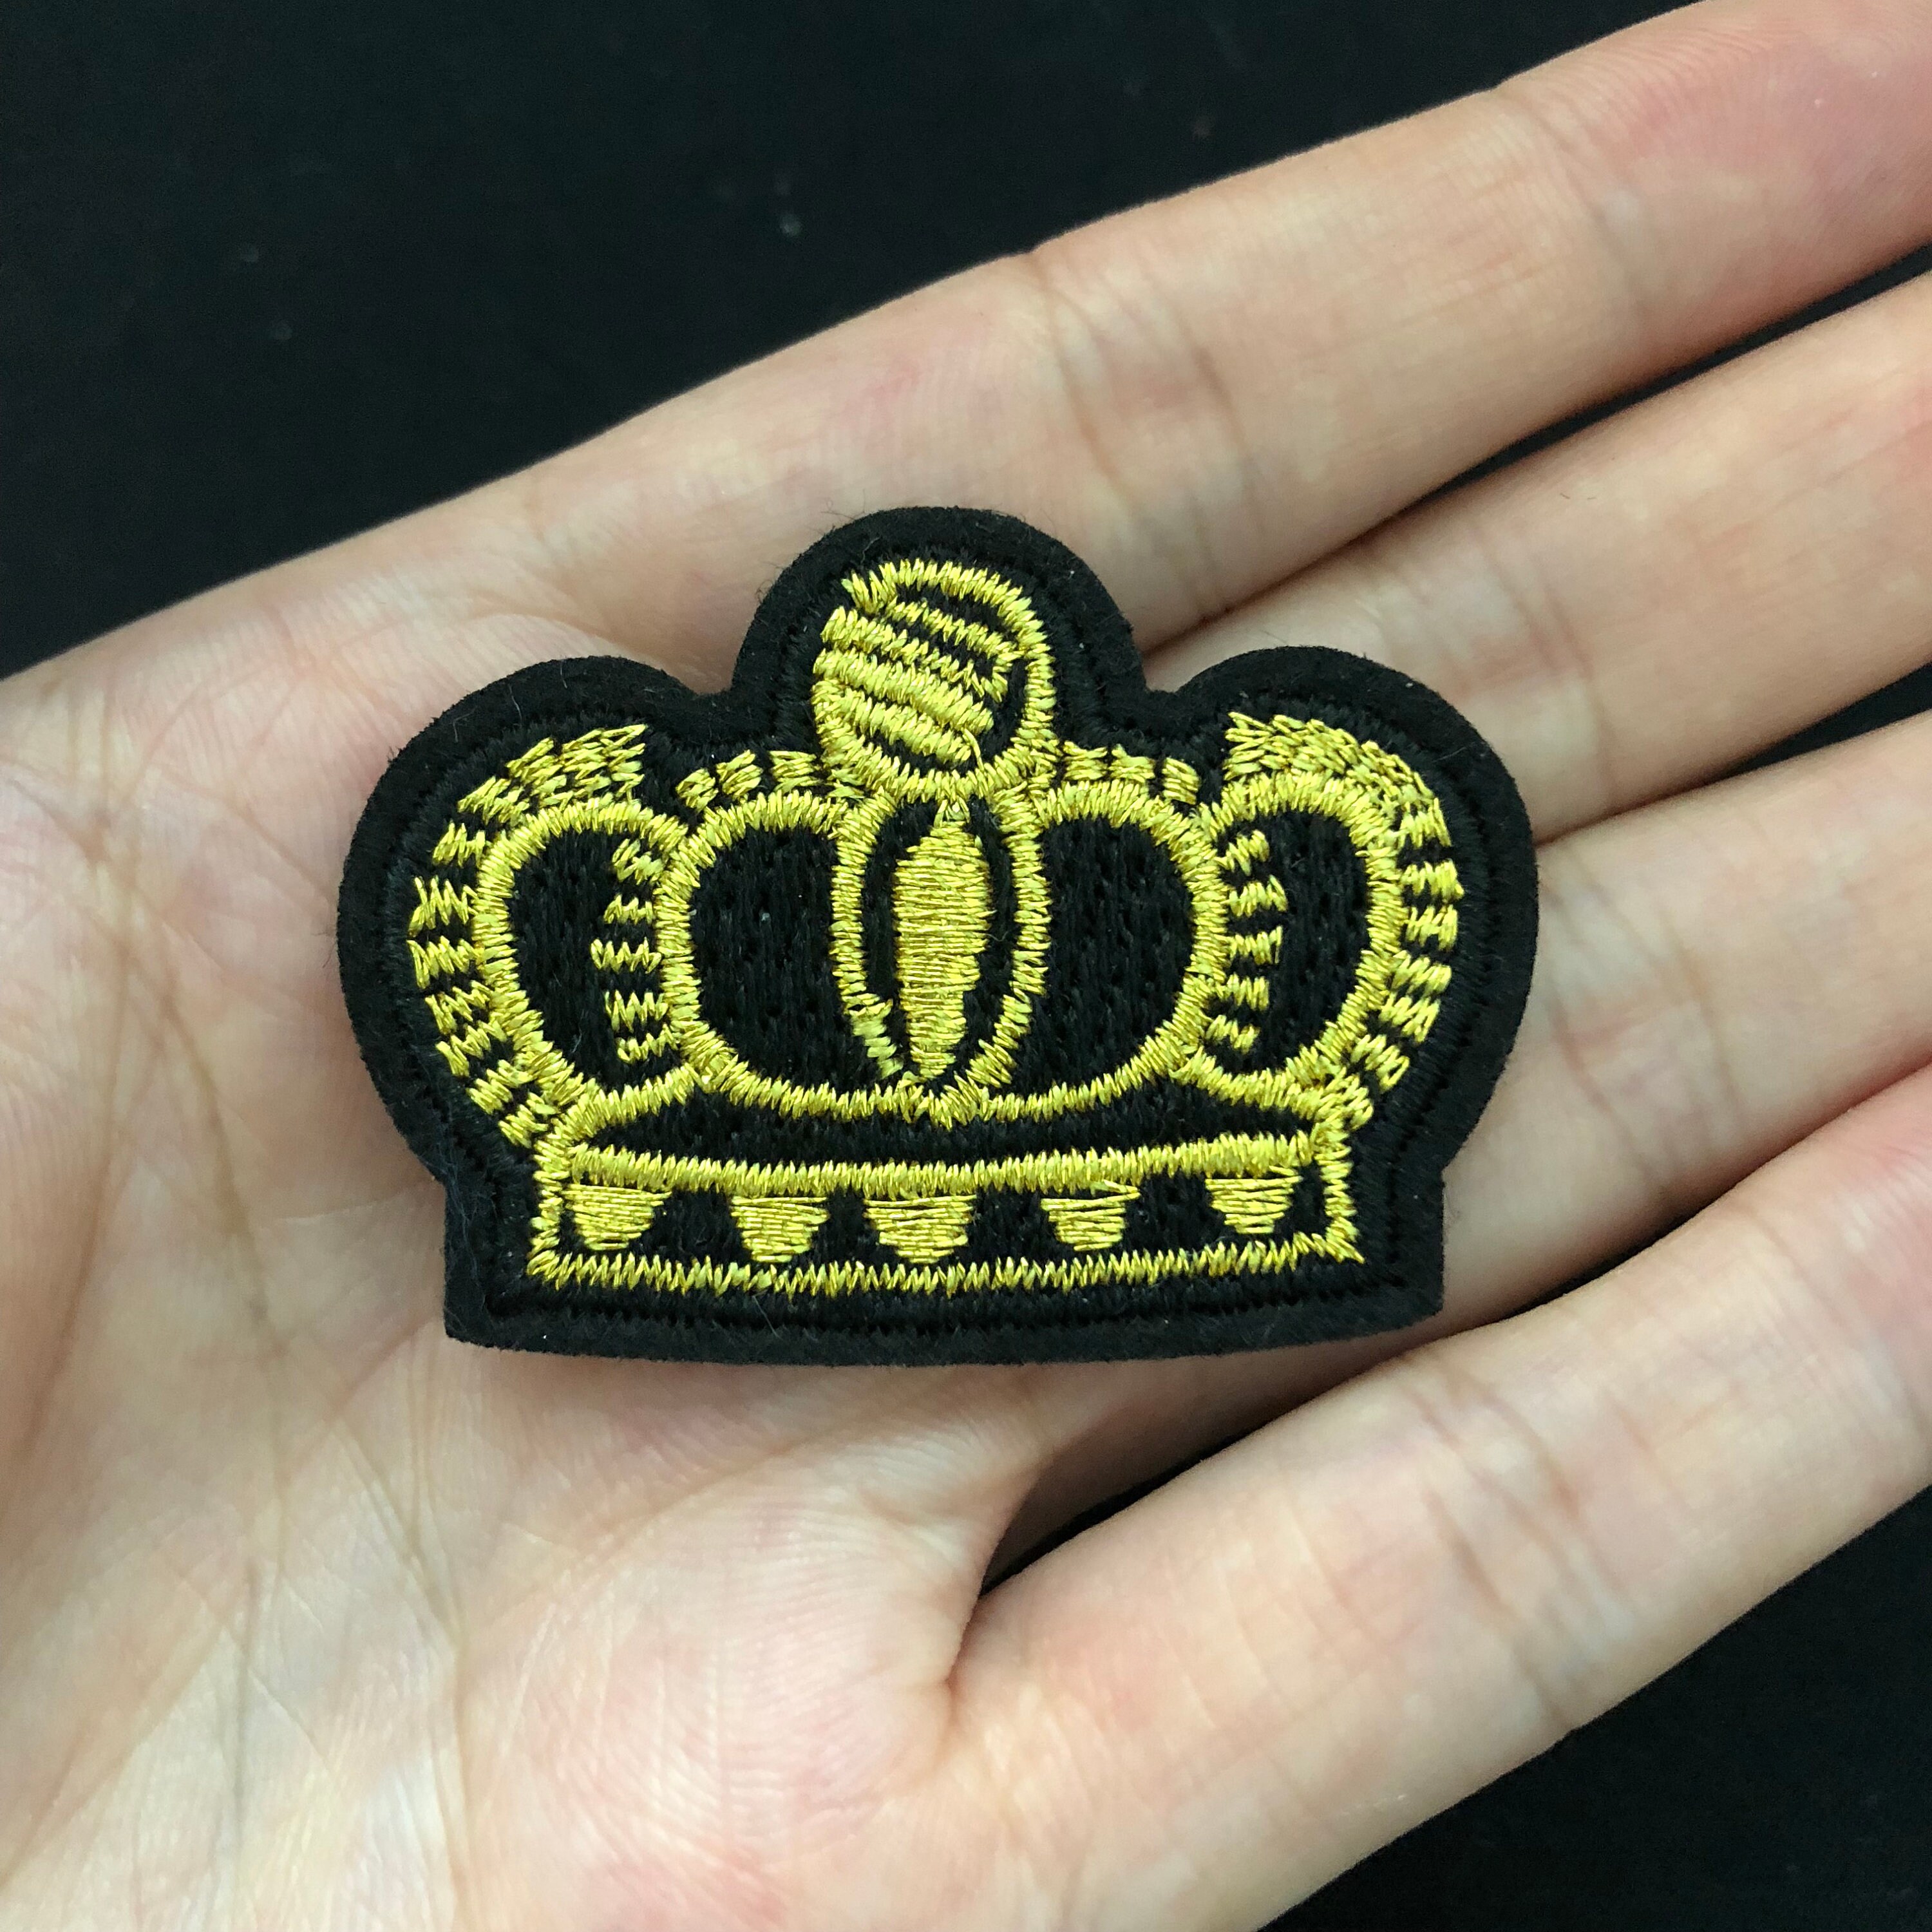
You've seen them. Those tiny, glimmering bits of gold and silver thread catching the light on the sleeve of a vintage denim jacket or the corner of a well-loved backpack. They’re everywhere lately. Honestly, the crown iron on patch has moved past being a simple craft store staple and turned into a legitimate shorthand for personal branding. It’s a bit weird if you think about it. We’re all walking around with royal iconography stuck to our clothes, yet nobody’s actually claiming a throne.
It's about the vibe.
Most people think of these patches as just "stickers for clothes," but the history of embroidery and heat-seal adhesives is actually kind of technical. It’s not just about looking cool; it’s about how that specific adhesive—usually a polyethylene or polyamide film—bonds with the fibers of your garment. If you’ve ever had a patch peel off after one wash, you know the frustration. It’s usually because the heat wasn't high enough or the fabric wasn't "thirsty" enough to drink in the glue.
The Cultural Weight of the Crown Iron On Patch
Why a crown? Why not a star or a lightning bolt? Well, crowns have been symbols of authority since, basically, forever. But in the modern DIY fashion scene, the crown iron on patch represents self-sovereignty. It's the "Main Character Energy" of the haberdashery world. Jean-Michel Basquiat famously used the three-pointed crown as a recurring motif in his paintings to elevate his subjects to royal status. When you slap one on a thrifted vest, you’re pulling from that same visual vocabulary. You are essentially declaring yourself the ruler of your own aesthetic.
It’s also deeply rooted in streetwear. Brands like Stüssy or even high-fashion houses like Dolce & Gabbana have leaned heavily into heraldic imagery. But the beauty of the iron-on version is the price point. You don't need a four-figure budget to get that regal look. You just need a $5 patch and a hot iron.
There’s a nuance here that most people miss: quality varies wildly. If you buy the cheapest ones you find in a bulk pack, the "gold" thread is often just yellow polyester. Real "bullion" patches—though rarely iron-on because they are too heavy—use actual metallic wires. For a high-quality crown iron on patch, you want to look for "satin stitching." This is where the threads are packed so tightly together they create a smooth, reflective surface that actually mimics the sheen of metal.
Don't Ruin Your Favorite Hoodie: The Physics of the Bond
Let's get into the weeds of how this actually works. Your iron isn't just a heavy heated plate; it's a chemical catalyst. Most iron-on patches use a dry adhesive backing that melts at around 300°F (150°C). When you apply pressure, that liquid glue seeps into the weave of the denim or cotton.
Wait.
If you are trying to put a crown iron on patch on a nylon windbreaker or a polyester jersey, stop. Right now. You will melt a hole in the fabric before the glue even thinks about getting tacky. Synthetics have a low melting point. Cotton, however, is a champion. It can take the heat. It’s the porous nature of natural fibers that allows the adhesive to "anchor" itself.
Common Mistakes I See All The Time:
- The "No Steam" Rule: People leave their iron on the steam setting. Steam is moisture. Moisture is the enemy of a dry-bond adhesive. Keep it bone dry.
- The Front-Only Approach: You have to iron the back of the garment too. Once the patch is stuck to the front, flip the shirt inside out and iron the area again from the reverse side. This pulls the glue deeper into the fabric.
- The "Quick Tap": You need sustained pressure. We’re talking 30 to 45 seconds of heavy, leaning-on-the-iron pressure. A quick wiggle won't do it.
Where to Source the Good Stuff
Not all patches are created equal. If you're looking for something that won't look like a cheap toy, you need to look at the "merrowed edge." That’s the thick, overlocked border that prevents the patch from fraying. A high-quality crown iron on patch will have a clean, tight merrowed edge that sits flush against the fabric.
I’ve spent way too much time looking at embroidery digitized files. The "stitch count" is the metric that matters. A low-stitch-count crown will look "gappy"—you’ll see the white backing fabric peeking through the gold threads. You want a high-density fill. Look for sellers who specialize in "tactical" or "biker" patches, even for something as dainty as a crown; their manufacturing standards for adhesive longevity are usually much higher than what you'll find at a generic craft chain.
The Longevity Myth
Is an iron-on patch permanent? Honestly? Not really. Even the best ones will eventually start to lift at the corners after 20 or 30 trips through a heavy-duty washing machine. The heat of a dryer can actually re-liquefy the glue, causing the patch to shift or peel.
If you really love your crown iron on patch, do the "security stitch." It takes two minutes. Get a needle and some thread that matches the border of the patch. Just do a simple running stitch or a couple of whip stitches at the points of the crown. This ensures that even if the glue fails, your royalty stays intact. It’s the difference between a temporary fashion statement and a permanent heirloom.
Styling Without Looking Like a Costume
There is a fine line between "edgy street style" and "looking like you're heading to a Renaissance Faire." To keep it modern, placement is key.
Avoid the center of the chest. It looks too much like a uniform. Instead, try the "cuff" of a sleeve. It’s subtle. It only shows when you’re reaching for a drink or checking your watch. Another great spot is the back of a collar—just a little flash of gold when you flip it up. If you're feeling bold, a cluster of patches works better than a single one. Pair your crown iron on patch with something contrasting, like a punk-rock safety pin or a simple geometric shape. It breaks up the "seriousness" of the crown.
Actionable Steps for a Perfect Application
- Prep the surface: Wash the garment first to remove any "sizing" (the chemicals factories put on clothes to keep them crisp). Do not use fabric softener; it leaves a coating that blocks glue.
- Pre-heat the fabric: Run the iron over the spot where the patch will go for 10 seconds. You want the fabric warm so the glue doesn't hit a cold surface and "shock" into a solid state too fast.
- The Press: Place the crown iron on patch, cover it with a thin cotton pressing cloth (an old pillowcase works great) to protect the embroidery from scorching, and press hard. No sawing motions. Just downward force.
- The Flip: Turn it inside out and repeat the press for 30 seconds.
- The Cooling Phase: This is the part everyone skips. Do not touch it. Do not try to see if it’s stuck. Let it sit flat until it is completely cold to the touch. The bond sets as it cools.
If you follow those steps, that patch is staying put through whatever your weekend throws at it. Whether you’re fixing a hole in a favorite pair of jeans or just decided that your plain black beanie needs a little more "majesty," the iron-on route is the most accessible way to do it. Just remember: heat, pressure, and a little bit of sewing for insurance. Your wardrobe deserves the upgrade.