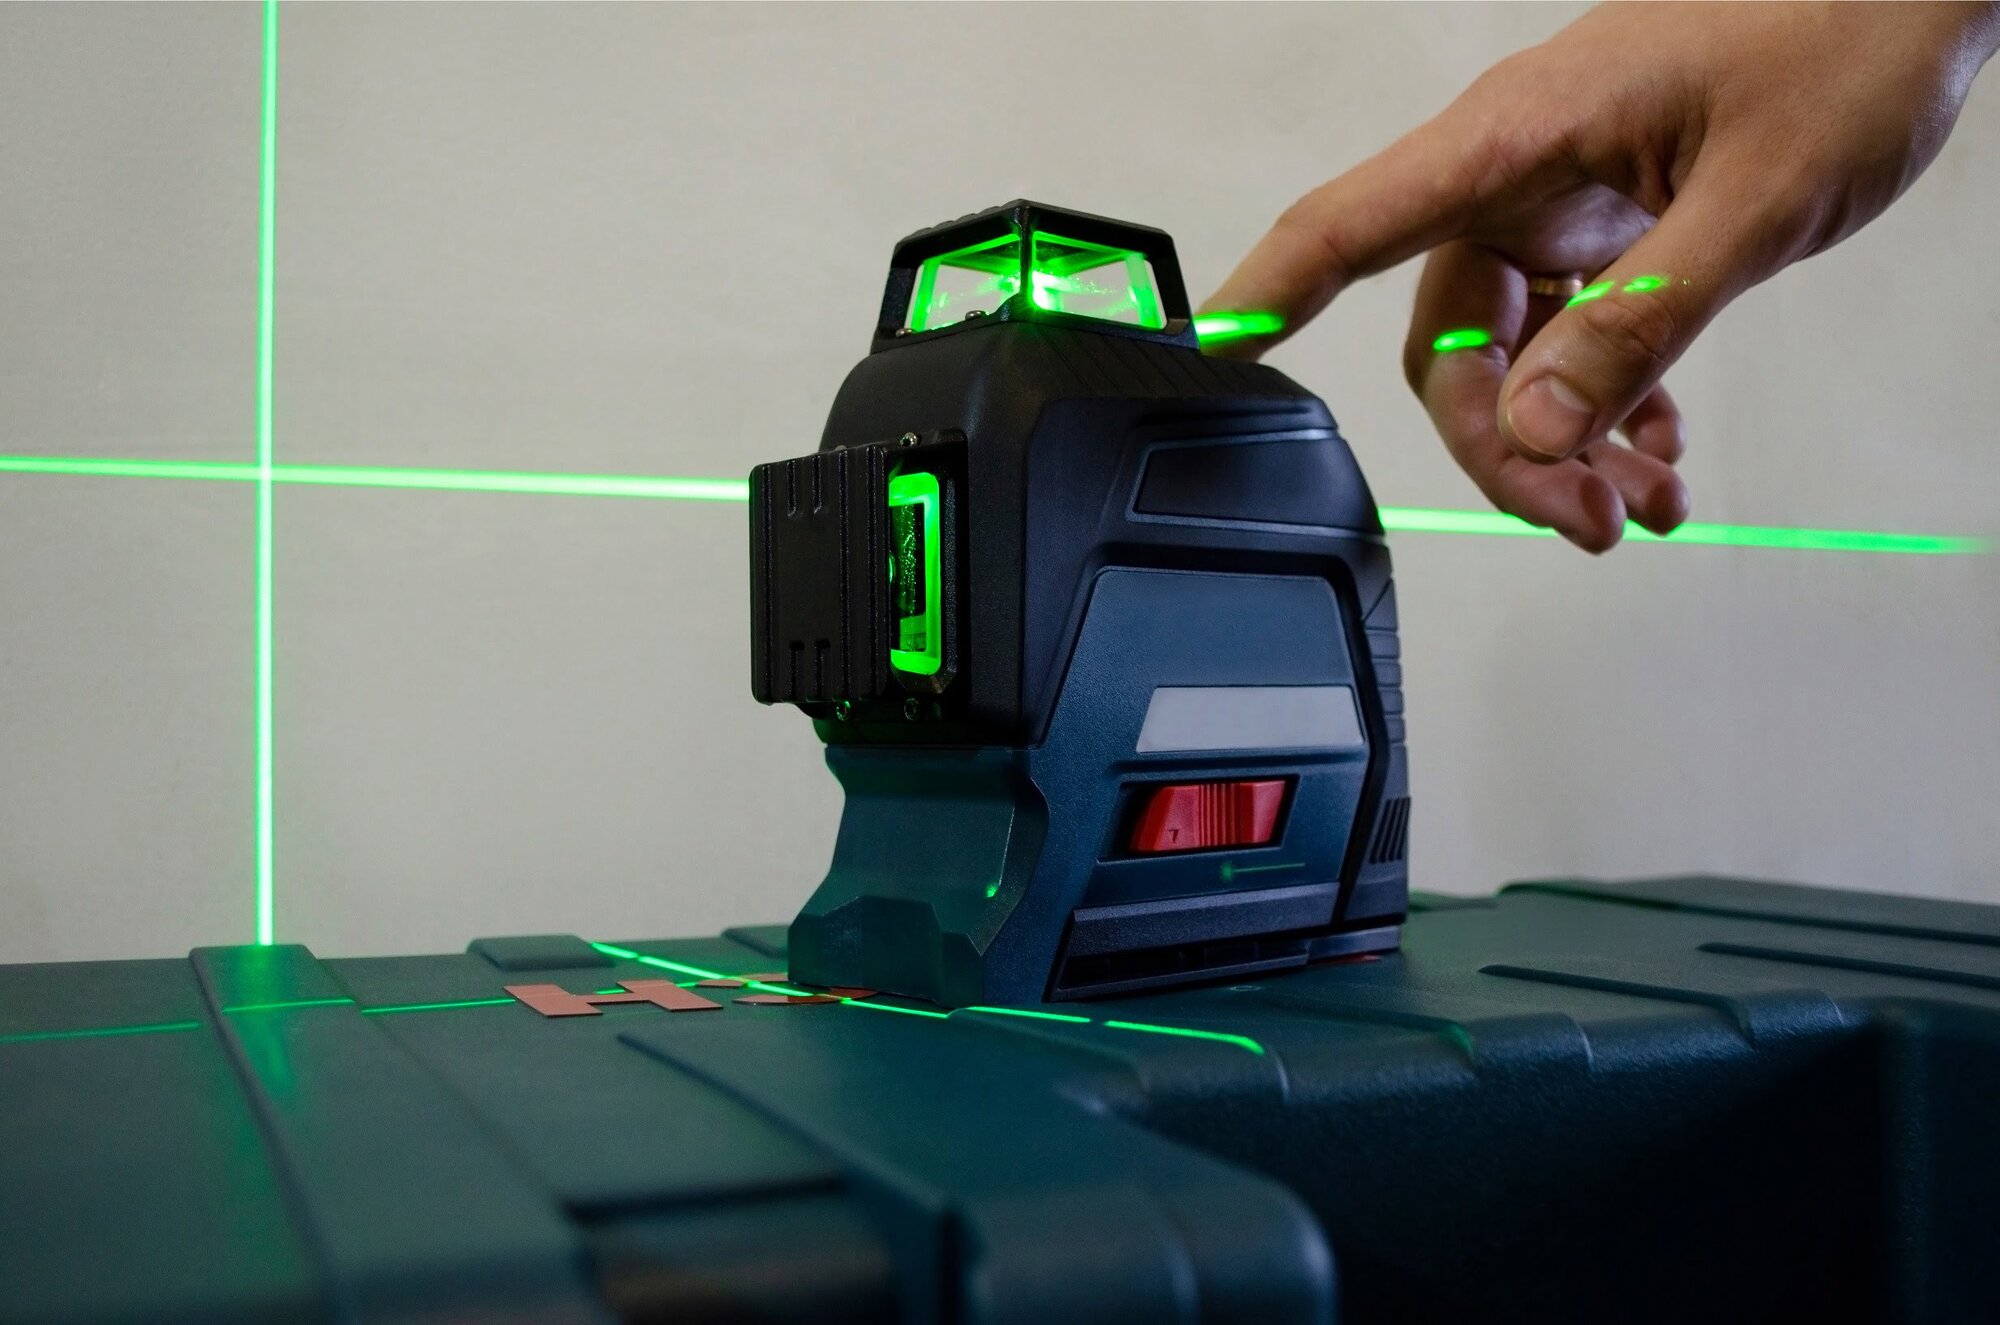
You’ve seen the red or green lines dancing across walls in home improvement shows, making everything look effortless. It looks like magic. But honestly, if you’ve ever tried using a laser level for the first time without a plan, you probably ended up with a headache and a wall full of "experimental" pencil marks.
It’s just a light on a wall. Right? Well, not exactly.
Whether you are hanging a simple gallery wall or trying to ensure your kitchen cabinets don't look like they’re sliding off into the abyss, the tool is only as good as the person calibration it. Most people buy a $60 Bosch or DeWalt from the big box store, throw it on a shaky ladder, and then wonder why their chair rail is three-quarters of an inch off by the time it reaches the corner. Precision requires more than just batteries. It requires an understanding of physics, stability, and the specific quirks of the device in your hand.
The Brutal Truth About Self-Leveling
Most modern lasers are "self-leveling." This sounds like you can just toss it on a pile of laundry and it’ll work. It won’t. These devices use an internal pendulum—basically a weighted light module hanging on a gimbal. If the base of the laser is tilted more than 4 or 5 degrees, the pendulum hits the side of the housing. When that happens, the laser usually blinks frantically at you like a panicked C-3PO.
You have to get the device "close enough" to level before the internal mechanism can take over. This is called the leveling range. If you’re using a laser level on a tripod, use the bubble vial on the tripod head first. Get that bubble centered. Only then should you trust the laser line to be your source of truth.
I’ve seen pros spend twenty minutes fighting a blinking light because they didn't realize their tripod was on a literal rug. Stability is everything. If someone walks heavily in the next room, that pendulum is going to dance.
Red vs. Green: Is the Extra Cash Worth It?
There is a massive debate in the trades about diode color. Red lasers are the old guard. They’re cheaper and they’ve been around forever. But here’s the thing: human eyes are naturally more sensitive to the green spectrum. Specifically, green light appears about four times brighter to us than red light at the same power output.
- Green Lasers: Great for bright rooms or large open spaces. They eat batteries for breakfast, though.
- Red Lasers: Perfect for indoor, low-light DIY stuff. They are much easier on your wallet and your AA batteries.
If you’re working outside? Honestly, neither is great. In direct sunlight, a laser is basically invisible. You’ll need a "receiver" or "detector"—a little plastic box that beeps when it hits the beam—if you plan on grading a patio or checking a fence line during the day.
Using a Laser Level for Layouts That Actually Match
Let’s talk about the "Transfer." This is where most DIYers fail. They get a perfect horizontal line, mark it, and then move the laser to a different wall to continue the line.
Stop.
Unless your laser has a 360-degree horizontal beam, moving the unit is a recipe for disaster. If you move the tripod even a fraction of an inch, your "level" line is now at a different height. To do this right, you need to establish a "benchmark" or a "datum" mark. This is a single, permanent pencil mark on a wall or a door frame. Every time you move the laser, you must align the beam back to that exact mark. It’s the only way to ensure the line on the north wall matches the line on the south wall.
The Secret of the Plumb Bob
A cross-line laser isn’t just for horizontal stuff. The vertical line (the plumb line) is arguably more important for things like installing wallpaper or setting floor-to-ceiling tile. Gravity doesn't lie. If your house has settled—and trust me, it has—your corners are not straight. If you follow the corner of the wall with your first strip of wallpaper, your pattern will be crooked by the time you reach the next wall.
Instead, throw that vertical beam up. Align it so it’s parallel to your starting point. Now you have a perfectly vertical reference that ignores the "character" (the wonkiness) of your old house.
Why Your Tripod is Probably the Weakest Link
You can spend $500 on a high-end Leica or Hilti, but if you put it on a $15 plastic camera tripod, you’re wasting your time. Standard camera tripods are too light. They vibrate. Even the wind from an HVAC vent can cause the beam to shimmer at a distance of 20 feet.
Look for a tripod with a "flat head" or at least one with some weight to it. Some people prefer floor-to-ceiling poles. These are tension rods that you wedge between the floor and the ceiling. You can slide the laser up and down to any height. It’s a game-changer for kitchen cabinets. No more stacking milk crates and shoe boxes to get the laser to the right height for the uppers.
Common Mistakes That Ruin Projects
- Trusting the Factory Calibration: Lasers are delicate. If you drop it, or even if the delivery driver was a bit rough, it can go out of whack. Always perform a "check" before starting a big job. Project a line on a wall 20 feet away. Mark it. Rotate the laser 180 degrees and see if the line still hits the mark. If it’s off, your laser is a paperweight until it's calibrated.
- Ignoring Reflective Surfaces: Mirrors, windows, and even high-gloss paint can "ghost" your laser. You’ll see two lines on the wall and have a 50/50 shot of picking the wrong one. Cover mirrors with a sheet if you’re getting reflections.
- Eye Safety: It’s a Class II laser, usually. It won't burn a hole through your hand, but it will cause temporary flash blindness if you stare into the diode. If you have kids or pets around, keep the laser at a height where they won't accidentally catch a beam in the eye.
Dealing with "The Sag"
When using a laser level over long distances—say, more than 50 feet—the beam actually widens. What starts as a crisp 1/16th-inch line at the source might be 1/4th of an inch wide at the end of a long room. When you're marking your points, always mark the center of the beam. If you mark the top of the beam in one spot and the bottom in another, you’ve just introduced a massive error into your work.
Nuance in the Field: Real World Scenarios
Take a look at how professional electricians use these. They aren't just looking for level; they're looking for symmetry. By using a 3-point alignment laser (which shoots dots up, down, and forward), they can "plumb" a hole from the floor to the ceiling perfectly. If you want to install recessed lighting and you want the lights perfectly centered over your kitchen island, you mark the floor. Then, you use the laser dot to project that exact center point onto the ceiling. No measuring tapes flapping in the wind. No guessing.
Wait, what about the "slope" mode? This is a feature many people overlook. Sometimes you don't want things level. Maybe you’re installing a handrail for a staircase. Many self-leveling lasers have a "lock" mode. This stops the pendulum from moving. You can then tilt the entire unit to match the angle of the stairs. The laser provides a perfectly straight line at a 35-degree angle, ensuring every bracket for that handrail is perfectly in line. Just remember: when the pendulum is locked, the line is straight, but it is NOT level.
Accuracy Specs: Reading the Fine Print
When you buy a tool, you’ll see specs like "± 1/8 inch at 30 feet." This is a standard. But remember, errors are cumulative. If your laser is off by 1/8th of an inch every 30 feet, and you’re trying to level a 60-foot deck, you could be a quarter-inch off by the end.
For most interior DIY, 1/8th of an inch is invisible to the naked eye. But for precision tile work or long-run cabinetry, that "stacking error" becomes a nightmare. Always work from the center of the room outward to minimize the distance the beam has to travel. This cuts your potential error margin in half.
Practical Steps for Your Next Project
If you are ready to get started, don't just turn it on and go. Follow these steps to ensure you don't end up with a crooked mess.
- Establish your "Finished Floor" height: Decide where your reference point is. Usually, this is the highest point of the floor. Find it by spinning the laser around the room and measuring down to the floor with a tape measure. The smallest measurement is your high point.
- Check your batteries: A dying battery can lead to a dimming beam or, in some cheaper models, inconsistent leveling. Always keep a spare set of AAs in the case.
- Clear the line of sight: It sounds obvious, but a single hanging light fixture or a ladder can block your line for half the room. High placement is usually better than low placement to avoid shadows.
- Mark with a "V": Instead of a flat dash, use a "V" or a "crow’s foot" mark. The point of the V is exactly where the line sits. It’s much more precise than a thick pencil smudge.
- Double-check at the end: Once you’ve finished your layout, go back to your original benchmark. Is the laser still hitting it perfectly? if it is, you’re golden. If it’s moved, you need to find out why before you start driving screws.
The most important thing to remember is that the tool is an assistant, not a master. Trust the beam, but verify with your eyes. If something looks "off," it might be because the house is so crooked that a perfectly level line actually looks wrong. In those rare cases, you might have to "cheat" the level to make it aesthetically pleasing. That's the difference between a machine and a craftsman.
Using a laser level effectively is about merging that mechanical precision with a bit of common sense. Get the tripod steady, respect the pendulum, and always, always work from a single benchmark. Your walls (and your sanity) will thank you.