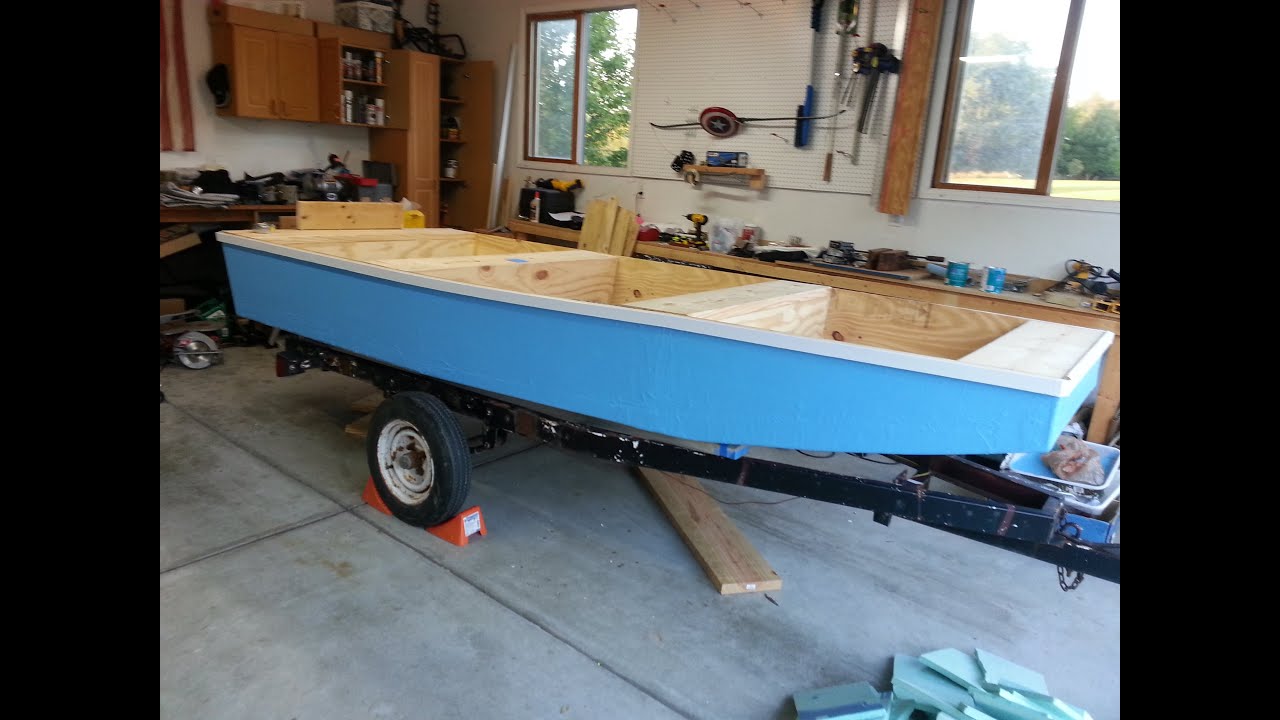
You just bought a beat-up Alumacraft or a Lowe 1436. It’s sitting in your driveway, a naked hunk of riveted aluminum, and you’re already dreaming of a 60-horsepower motor and a casting deck high enough to overlook a small city. Stop. Seriously. Most people mess up their jon boat build ideas by forgetting one basic law of physics: weight is the enemy of a small boat. I’ve seen guys put 300 pounds of pressure-treated lumber into a boat with a 500-pound total capacity and then wonder why they’re taking on water every time a dragonfly lands on the gunwale.
Building a jon boat is about compromise. It’s a puzzle.
You want stability, but you also need to be able to slide that hull over a muddy bank without throwing out your back. If you do it right, you have a skinny-water assassin that can go where $80,000 fiberglass bass boats fear to tread. If you do it wrong, you have a sinking patio.
The Foundation: Why Aluminum Framing is Non-Negotiable
Forget the 2x4s. Honestly, just leave the wood at Home Depot unless you’re using thin marine-grade plywood for a floor insert. Most successful jon boat build ideas now revolve around aluminum square tubing or "structural" aluminum angle. Why? Because it doesn’t rot, and it weighs a fraction of what pine or cedar does.
Take a look at what professional builders like Tiny Boat Nation suggest. They almost exclusively use 1" or 1.5" aluminum square tubing. You can join these with stainless steel self-tapping screws or, if you’re fancy, learn to TIG weld. A wooden deck might cost $50, but it’ll gain 40 pounds the first time it rains and eventually rot your hull from the inside out via electrolysis if you used the wrong treated lumber. Aluminum on aluminum is the only way to keep your draft shallow.
The Decking Dilemma
Low decks vs. high decks. This is where the internet fights. A high casting deck feels great for flipping jigs into heavy cover. It gives you a better vantage point to see into the water. However, in a narrow 36-inch bottom boat, a high deck makes you feel like a tightrope walker. If you have a wide-bottom boat (48 inches or more), go ahead and build that elevated platform. If you’re in a skinny 10-footer? Keep your center of gravity low. Put your "floor" right on the ribs.
Smart Storage and Weight Distribution
Most DIY builds fail because they put the batteries, the fuel tank, and the heavy cooler all in the back near the transom. Add a 15HP outboard and a 200-pound human, and that boat is going to "plow" the water. The bow will stick up like a periscope.
One of the best jon boat build ideas is to move your heavy battery (especially if you're running a 24V trolling motor system) as far forward as possible. This balances the "aft-heavy" nature of small boats.
- Center Benches: Don't just rip them out. Those benches provide structural rigidity. If you remove them to make an open floor plan, you must reinforce the ribs with "knees" or vertical supports. Otherwise, your hull will "oil can" (flex and pop) and eventually crack.
- Hatch Liners: Use plastic bins or custom-bent aluminum sheet for your under-deck storage. Avoid carpet-lined wood boxes; they stay damp for weeks and smell like a wet dog's basement.
Wiring Like a Pro (So You Don't Catch Fire)
Marine wiring is different from house wiring. Use tinned copper wire. Saltwater—or even just high humidity—will turn standard copper wire into green dust in a couple of seasons.
You’ve got to have a switch panel. Don’t just "twist and tape" your fish finder to the battery terminals. Get a 6-gang waterproof panel with fuses. It keeps things tidy. Also, consider a "bus bar." It’s basically a central hub for all your ground wires so you don't have twelve different ring terminals fighting for space on your battery post.
Pro tip: If you’re running a bow-mounted trolling motor, use 6-gauge or 8-gauge wire. Thin wire creates resistance, heat, and saps your battery life. Nobody wants to be rowing back to the ramp because they used "speaker wire" for a 55-lb thrust Minn Kota.
Lighting: The "Cool Factor" That Actually Works
Interior lighting is one of those jon boat build ideas that sounds purely aesthetic until you’re trying to tie a fluorocarbon knot at 4:30 AM in a swamp.
- LED Strips: Tuck them under the gunwales. This provides "indirect" light so you aren't blinded, but you can see your tackle box.
- Navigation Lights: Skip the battery-powered "clamp-on" ones. Hardwire a set of shark-eye lights into the hull. They look sleek and won't get knocked off by a stray branch.
- The "Spotlight": A front-mounted LED light bar is popular, but be careful. If it’s mounted too far back, the light will reflect off your own deck and blind you. Mount it as far forward as possible, or use a "cutoff" shield.
Handling the Comforts: Seating and Flooring
Vinyl is okay. EVA foam (like SeaDek or the cheaper off-brand versions) is better.
Honestly, the "peel and stick" EVA foam floor mats have changed the game for jon boat builds. They provide grip, they're soft on your knees, and they dampen the sound. Remember: fish hear everything. Dropping a pair of pliers on a bare aluminum floor sounds like a gunshot to a nervous smallmouth bass. The foam absorbs that vibration.
For seating, most people go for the classic fold-down "bass boat" seats. Just make sure your seat pedestals are bolted through the framing, not just the thin plywood decking. Use "fender washers" to spread the load so the bolts don't pull through when you hit a wake.
The Outboard vs. Longtail Debate
If you're building a "river rat" boat for rocky bottoms, look into a longtail mud motor or a surface drive. These engines are air-cooled and designed to kick up when they hit an obstruction. If you're on a clean lake, stick to a standard outboard.
A 9.9HP is the "goldilocks" motor for most 12-to-14 foot jon boats. It’s light enough to carry but strong enough to get two people on plane. Anything bigger and you might need to reinforce your transom with an aluminum plate or a "transom saver."
Actionable Next Steps for Your Build
If you’re ready to stop scrolling and start swinging a hammer, here is how you actually begin.
Start by stripping the boat. Get a pressure washer and blast out forty years of leaf mold and fish scales. Check the rivets. If they leak, don't use silicone. Use Guvit or G-Flex 655 epoxy. Silicone doesn't stick to aluminum long-term.
Once the hull is dry and sealed, draw your layout on the floor with a Sharpie. Sit in the boat. Mimic the motion of casting. See if your "dream deck" is going to get in the way of your trolling motor handle.
Measure twice. Buy your aluminum. Then, build the frame. Avoid the temptation to over-complicate the electrical system on day one. Get the floor and the motor sorted first. Everything else—the RGB lights, the livewell, the triple-screen sonar—is just "glitter" on what should be a functional, lightweight tool for catching fish.
Keep it light. Keep it simple. Get on the water.