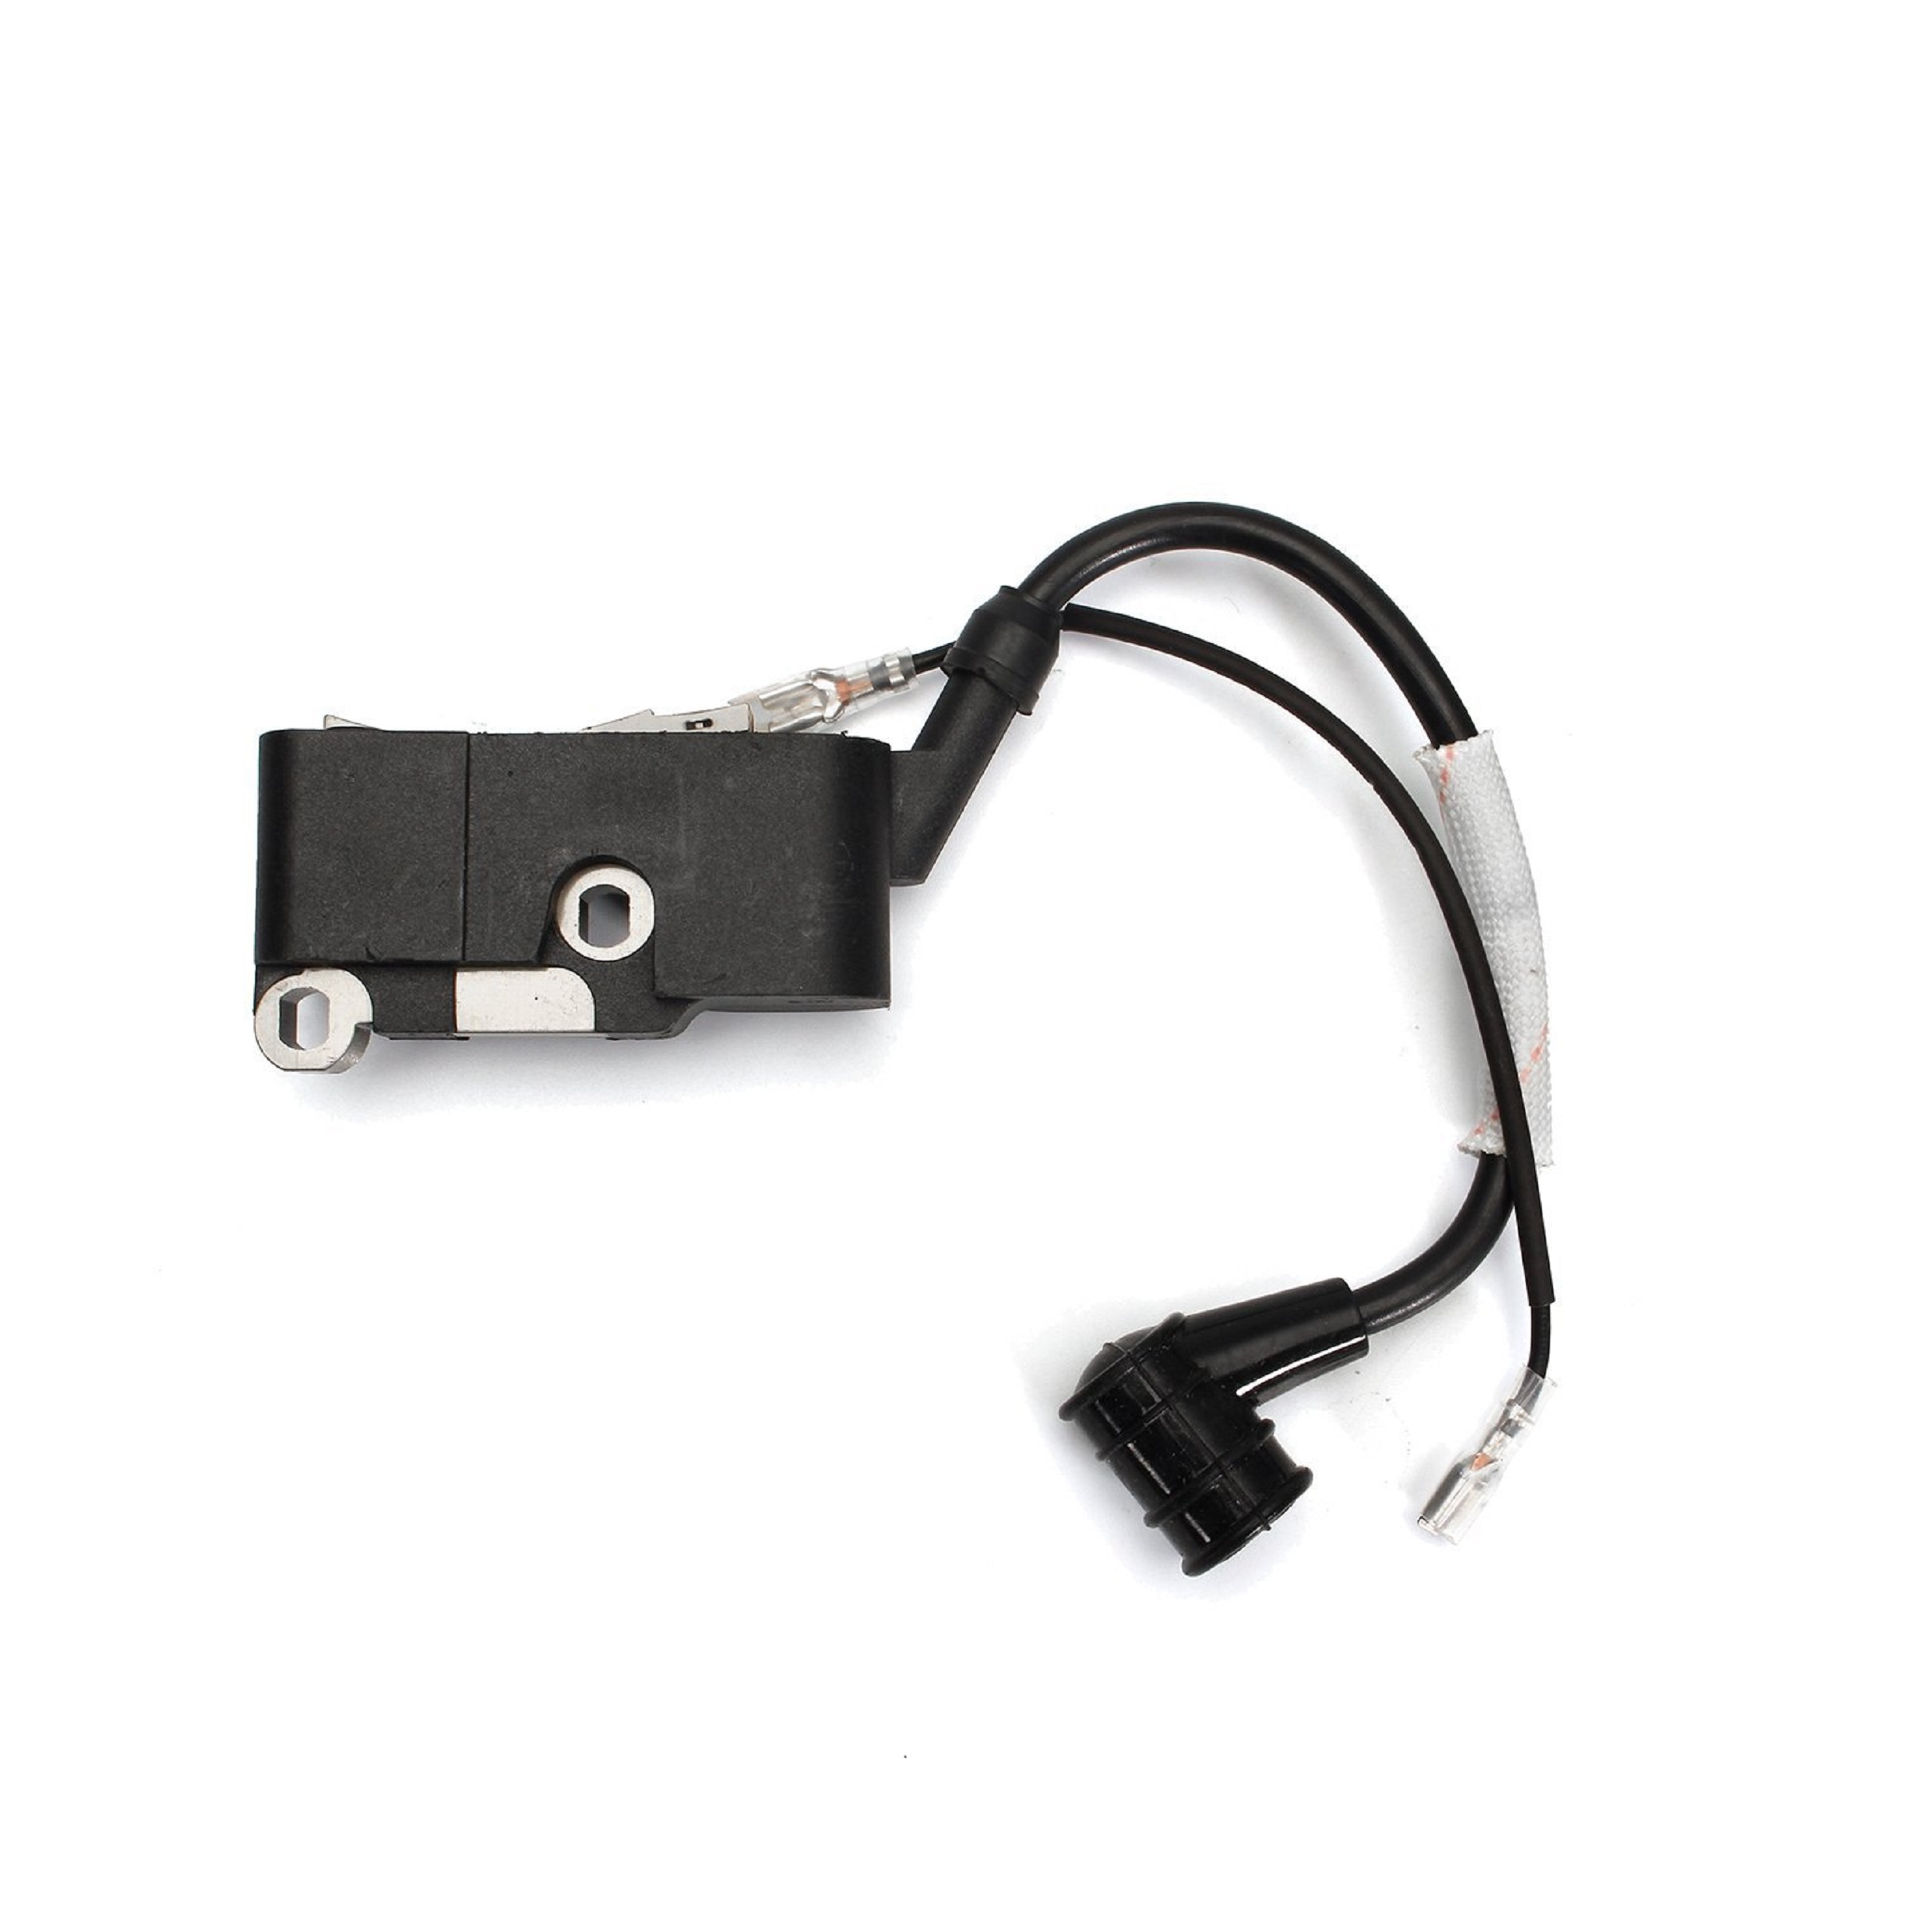
If your car is stuttering like it’s got a bad case of the hiccups, you’re probably looking at a dead ignition coil. It’s one of those parts that sounds complicated—mostly because it involves high voltage—but it’s actually one of the most straightforward DIY jobs you can do in your driveway. Honestly, it’s basically just a fancy transformer that turns low battery voltage into the massive spark needed to ignite fuel. But if you mess it up, you're looking at a misfiring engine or, worse, a fried ECU.
Most people wait until the "Check Engine" light starts flashing before they even think about how to install ignition coil replacements. That's a mistake. By the time that light is blinking, you’re dumping unburned raw fuel into your catalytic converter. That’s a $1,000 mistake born out of a $50 problem.
Why Coils Fail (and Why You Should Care)
Heat is the enemy here. Engines get hot, obviously, but ignition coils sit right on top of the cylinder head, absorbing every bit of that thermal energy. Over time, the internal windings—thousands of turns of copper wire thinner than a human hair—just give up. According to data from aftermarket parts manufacturers like NGK and Denso, vibration and moisture are the secondary killers. If your spark plug gap is too wide because you haven't changed your plugs in 100,000 miles, the coil has to work harder to jump that gap. It gets hotter. It dies faster.
It's a cycle.
The Actual Process of How to Install Ignition Coil Units
Before you even touch a wrench, let the engine cool down. This sounds like common sense, but you’d be surprised how many people try to swap coils on a heat-soaked engine and end up with blistered knuckles or stripped plastic clips. Plastic becomes brittle when it’s hot. If you snap the locking tab on the wiring harness because you were impatient, you’ll be using zip ties to hold your engine together for the next three years. Nobody wants that.
Tools you’ll actually need:
- A 10mm socket (usually).
- A ratchet with an extension.
- Dielectric grease (non-negotiable).
- A torque wrench if you're a perfectionist.
- A flathead screwdriver for stubborn clips.
First, pop the hood and locate your engine cover. Some cars, like older Toyotas or Hondas, have exposed coils. Others, like modern BMWs or Audis, hide them under a plastic shroud that requires a bit of wrestling to remove. Once you see those little square or cylindrical tops with wires plugged into them, you’ve found your targets.
Disconnect the negative battery terminal. Seriously. You’re working with a component that generates upwards of 30,000 volts. While the car is off, the risk is low, but accidental shorts can happen. Just pull the cable.
Removing the Old Junk
Unclipping the wiring harness is the hardest part of the whole job. These connectors have been baked in an oven for five years. They don't want to move. Gently press the tab and pull the connector away. If it doesn't budge, don't yank it. Use a small screwdriver to lightly—lightly!—pry the tab.
Once the wire is off, unscrew the retaining bolt. Usually, there's just one. Put the bolt somewhere safe, like a magnetic tray or a cup. If you drop that bolt into the abyss of the engine bay, you’ll spend two hours looking for it with a flashlight and a magnet on a stick.
Pull the coil straight up. You might hear a "pop" similar to a suction cup. That’s a good sign. It means the rubber boot was sealed well against the spark plug. Take a look down the hole. Is there oil down there? If the spark plug is swimming in oil, your ignition coil didn't just "die"—your valve cover gasket is leaking. Installing a new coil into a pool of oil is a waste of money. Fix the leak first.
The Secret Sauce: Dielectric Grease
Here is where most DIYers fail. They take the new coil out of the box and just shove it in. Don't do that.
Apply a small amount of dielectric grease—silicone-based, non-conductive stuff—to the inside of the rubber boot. Just a pea-sized amount. This prevents the rubber from fusing to the porcelain of the spark plug. It also keeps moisture out. The next time you have to do this, the coil will slide off like butter.
Dropping in the New Part
Align the new coil over the spark plug and press down firmly until you feel it "seat." It should feel solid. Line up the bolt hole. Hand-thread the bolt back in first. You never, ever want to cross-thread a bolt into a cylinder head. It’s an expensive nightmare to fix. Once it's hand-tight, snug it down with your ratchet. You don't need to be a bodybuilder here; about 7 to 10 foot-pounds is usually plenty.
Plug the wiring harness back in. You should hear a distinct "click." If you don't hear it, it's not seated, and your car will probably throw a code the second you start it.
One or All? The Great Debate
When people ask about how to install ignition coil sets, they always ask if they should replace all of them at once.
Honestly? It depends on your budget and how much you value your time. If you have a V6 engine where three of the coils are buried under the intake manifold, replace all of them. You do not want to take that engine apart twice. If you have an inline-4 where they are all right on top? You can get away with just replacing the dead one. But keep in mind, if one coil has reached its end of life, the others are likely right behind it. They’ve all lived through the same heat cycles and the same mileage.
Common Mistakes That Kill New Coils
I’ve seen people use "universal" coils they bought for $12 on a sketchy website. Don't do it. Modern ignition systems are incredibly sensitive to resistance values. If the primary or secondary resistance of a cheap coil is even slightly off, the ECU will get confused. You’ll end up with a "ghost" misfire that is impossible to diagnose. Stick with OEM (Original Equipment Manufacturer) or reputable brands like Bosch, Delphi, or Hitachi.
Another big one: ignoring the spark plugs.
A bad spark plug can kill a brand-new ignition coil in a matter of weeks. When the plug is worn out, the gap increases. This forces the coil to produce a much higher voltage to bridge the gap. This extra stress breaks down the internal insulation of the coil. If you’re already in there, just change the plugs. They’re cheap insurance.
Troubleshooting After the Install
So you finished the job, reconnected the battery, and started the car. If it runs smooth, congrats. If the Check Engine Light is still on, don't panic. Sometimes the computer needs a few drive cycles to realize the problem is fixed. Or, you can use a cheap OBD-II scanner to clear the codes manually.
If the car is running worse than before, check your connections. Did you plug the right wire into the right cylinder? On most cars, the harness is length-specific, so it's hard to mess up, but on older vehicles with ignition wires, it’s easy to swap them. This creates a timing nightmare. Double-check your firing order.
Actionable Maintenance Steps
To keep your new coils alive for another 100,000 miles, follow these specific steps:
- Check your engine ground wires. Rusty or loose grounds force the ignition system to work harder, creating electrical "noise" that wears out components.
- Keep the engine clean. Oil spills or coolant leaks that find their way into the spark plug wells will eventually eat through the rubber boots of the coils.
- Gap your plugs correctly. Even "pre-gapped" plugs from the factory can be wrong. Use a feeler gauge to ensure they meet your vehicle's specific requirements (usually found on a sticker under the hood).
- Don't ignore "soft" misfires. If your car stumbles only under heavy load (like going up a hill), that’s a sign a coil is starting to fail. Replace it now before it leaves you stranded on the side of the highway.
The reality is that knowing how to install ignition coil units is a fundamental skill for any car owner. It’s a task that takes about 30 minutes and saves you roughly $200 in labor costs at a dealership. Plus, there's a certain satisfaction in hearing an engine purr perfectly because of something you did with your own two hands. Just remember the grease, mind the clips, and don't buy the cheapest parts you find. Your engine will thank you.