Let’s be real. If you’ve ever built a website, you know that the default HTML form behavior is kind of a relic from 1995. You click submit, the page flickers, white screens for a second, and then—hopefully—reloads with a "Success!" message. It’s clunky. In an era where we expect instant feedback, that full-page refresh feels like a glitch. That is exactly why you need to learn how to submit html form javascript methods properly. It changes everything. Instead of that jarring jump, your site stays smooth, responsive, and, honestly, professional.
But here is the thing: there isn't just one way to do it. You’ve got the old-school XMLHttpRequest, the modern fetch API, and then a whole world of "wait, why isn't my validation working?" headaches.
The "Old Way" is Killing Your UX
Most people start with a standard <form action="/submit" method="POST">. It works. It’s reliable. But it’s also the reason users drop off. If a user is on a slow 3G connection and your server takes three seconds to respond to a POST request, they’re staring at a blank screen. They might even click "submit" three more times, double-charging their credit card or creating five duplicate support tickets.
When you submit html form javascript instead of the browser's default action, you take control of that "in-between" state. You can disable the button, show a loading spinner, and handle errors without ever making the user leave the page.
Stop the Default Action First
Before you can do anything fancy, you have to tell the browser to pipe down. By default, the browser wants to take that data and run. You stop it with event.preventDefault().
const myForm = document.getElementById('signup-form');

myForm.addEventListener('submit', function(e) {
    e.preventDefault();
    console.log('Look at me, I am the captain now.');
    // Your logic goes here
});
If you forget that one line, your JavaScript might run for a split second before the page refreshes and wipes everything out. It’s the most common "why isn't my code working?" bug in web development. I've spent hours debugging complex scripts only to realize I forgot to prevent the default event. It happens to the best of us.
Using FormData: The Secret Weapon
Extracting data from a form used to be a nightmare. You’d have to manually grab every input by ID: const name = document.getElementById('name').value;. If you had a form with twenty fields? Forget it. You'd have a wall of code just for variable declarations.
Enter the FormData object. It’s a built-in browser API that basically sucks up all the key-value pairs in your form automatically.
const data = new FormData(myForm);
That’s it. One line. It even handles file uploads (like images or PDFs) which is usually a massive pain to do manually. If you're trying to submit html form javascript and you aren't using FormData, you're essentially working with one hand tied behind your back.
The Fetch API: Your Best Friend
Once you have your data, you need to send it somewhere. Ten years ago, we used jQuery's $.ajax or the clunky XMLHttpRequest. Today? We use fetch. It’s cleaner, it uses Promises, and it’s built right into the browser.
fetch('https://api.example.com/register', {
    method: 'POST',
    body: data
})
.then(response => response.json())
.then(result => {
    console.log('Success:', result);
})
.catch(error => {
    console.error('Error:', error);
});
It looks simple, but there are traps. For example, if the server returns a 404 or a 500 error, fetch doesn’t actually "fail" in the sense that it triggers the .catch() block. It only catches network failures. You have to manually check if (!response.ok) to see if the server actually liked what you sent.
Handling JSON vs. FormData
Sometimes your backend doesn't want FormData. If you’re working with a modern Node.js or Python API, it might expect a JSON string. This is where people get tripped up. You can't just pass the FormData object into JSON.stringify(). It’ll come out empty.
You have to convert it first. A quick trick is Object.fromEntries(data.entries()). This turns your form data into a regular JavaScript object, which you can then stringify.
- Gather the data with
new FormData(). - Convert to a plain object.
- Stringify it.
- Set the
Content-Typeheader toapplication/json.
If you forget that header, your server might look at your request and say, "I don't know what this is," and just ignore it.
Why Validation Still Matters
Just because you're using JavaScript doesn't mean you should skip HTML5 validation. Keep those required, type="email", and pattern attributes on your inputs. When you submit html form javascript, the browser still checks those before the submit event fires. It’s a free layer of security and user experience that you don't have to code yourself.
However, don't rely on it exclusively. Anyone with a right-click and "Inspect Element" can delete your required attribute. Always validate on the server. Always.
The "Submission Ghost" Problem
Ever clicked a submit button and wondered if anything happened? You click it again. And again.
When you use JavaScript to handle submissions, you must provide visual feedback. The moment the script starts, disable the submit button. Change the text to "Sending..." or show a little loading icon. If the submission fails, tell the user why. "Hey, that email is already taken" is much better than a generic "Something went wrong."
Real-world APIs fail. Wi-Fi drops. Servers crash. Your code needs to handle the "sad path" just as gracefully as the "happy path."
Security Considerations (CORS and CSRF)
When you start sending data across different domains, you'll hit a wall called CORS (Cross-Origin Resource Sharing). The browser is trying to protect users from malicious scripts. If your frontend is at myapp.com and your API is at api.myapp.com, the server has to explicitly allow your frontend to talk to it.
Then there's CSRF (Cross-Site Request Forgery). If you're using cookies for authentication, an attacker could potentially trick a user into submitting a form to your site from a different tab. Most frameworks like Django, Rails, or Laravel have built-in CSRF protection that expects a "token" to be sent with the form. When you submit html form javascript, you need to make sure you grab that token from a hidden input or a cookie and include it in your fetch headers.
Advanced Pattern: The Async/Await Approach
Promises are great, but async/await makes your code read like a book. It's much easier to follow the logic of "Wait for the response, then do this, then do that."
async function handleSubmit(event) {
    event.preventDefault();
    const form = event.target;
    const formData = new FormData(form);

    try {
        const response = await fetch('/api/submit', {
            method: 'POST',
            body: formData
        });

        const result = await response.json();

        if (response.ok) {
            alert('Everything went great!');
            form.reset();
        } else {
            alert('Server said no: ' + result.message);
        }
    } catch (err) {
        alert('Network error. Check your connection.');
    }
}
This structure is robust. It handles the network being down, the server being mad, and the success state all in one readable block.
Misconception: JavaScript Forms are "Unsafe"
I hear this a lot. "If I use JS, people can see my logic!"
Well, yes. But they can see your HTML too. Security doesn't come from hiding your frontend code; it comes from a secure backend. Whether you use a standard HTML POST or a JavaScript fetch call, the data being sent over the wire is essentially the same. The only difference is how the user experiences the wait.
Specific Implementation Steps
To get this working right now, follow this logical flow. Don't skip the cleanup phase at the end.
- Hook the Event: Use
addEventListener('submit')on the form element, not aclickevent on the button. This ensures that users who hit "Enter" also trigger the script. - Lock the UI: Immediately set
button.disabled = true. This prevents double-submissions which wreck database integrity. - Capture and Send: Use
FormDataandfetch. Stick to POST for anything that creates or changes data. - Handle the Response: Check
response.ok. Parse the JSON. - Unlock and Reset: On success, clear the form with
form.reset(). On failure, re-enable the button so the user can fix their mistakes and try again.
Don't forget accessibility. If you're showing an error message, use an aria-live region so screen readers actually announce the error to the user. A visual-only error message is a brick wall for a blind user.
Why You Might Actually NOT Want JavaScript
Wait, what?
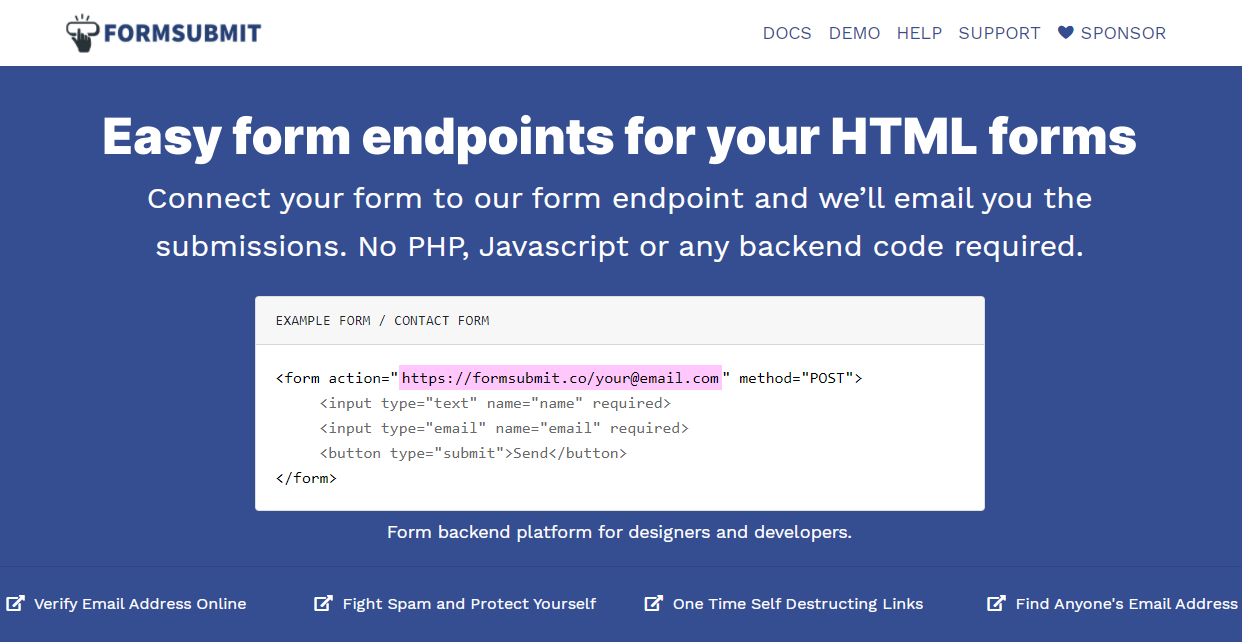
Yeah, sometimes the "old way" is better. If you’re building a very simple contact form on a static site and you don't have a backend (maybe you're using a service like Formspree or Netlify Forms), the default HTML behavior is often easier to set up. It’s also a fail-safe. If a user has JavaScript disabled (rare, but it happens), a standard HTML form will still work.
However, for 99% of modern web apps, the benefits of a seamless, no-refresh experience far outweigh the extra 20 lines of code.
Actionable Next Steps
Start by refactoring one form. Don't try to change your whole site at once.
- Audit your forms: Find a form that currently causes a full page reload and feels clunky.
- Implement a basic Fetch: Wrap your submission in a
try/catchblock and useFormDatato grab the inputs. - Add a loading state: Create a CSS class that dims the form and shows a spinner while the
fetchis pending. - Test for errors: Manually trigger a 500 error on your server (or point the fetch to a fake URL) to see if your error handling actually works.
- Check the Network tab: Open your browser's Developer Tools (F12), go to the Network tab, and watch the request go out. Look at the "Payload" to see exactly what you're sending to the server.
Once you master the flow of submit html form javascript, you'll never want to go back to the white-screen-flicker days again. It is the bridge between a "website" and a "web application."