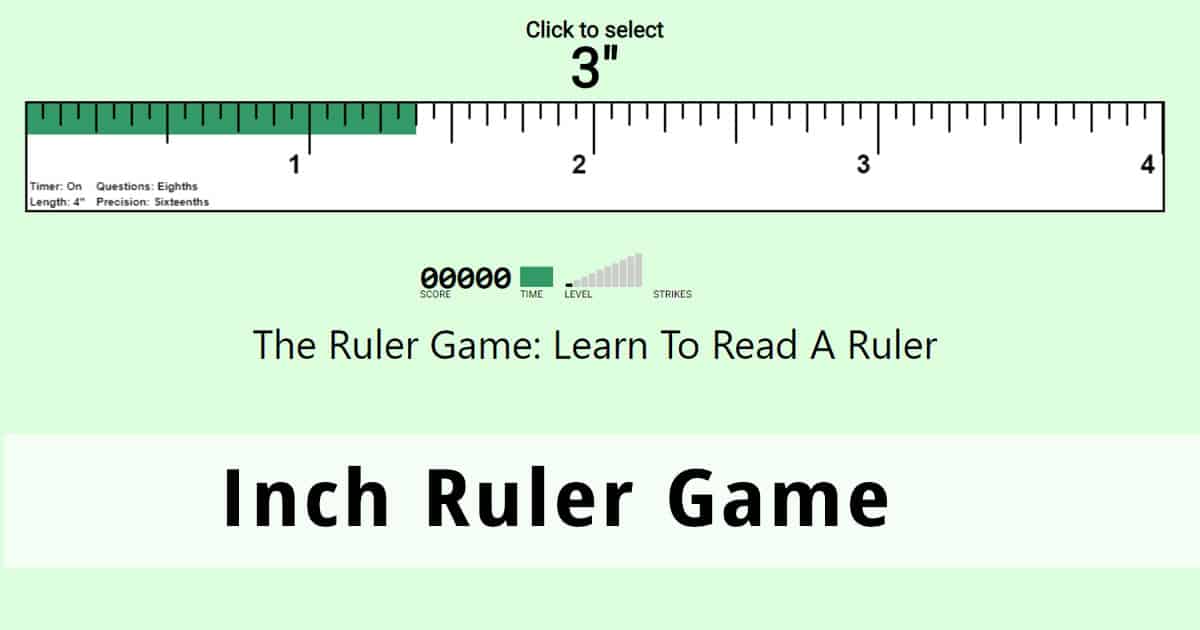
Look at that wooden or plastic stick on your desk. It seems simple, right? It’s just a bunch of lines. But honestly, most of us stare at those tiny slivers of ink and just... guess. We say "it's about three marks past the half-inch" and hope the shelf fits. It usually doesn't. Learning how to read a ruler isn't actually about math; it’s about pattern recognition. Once you see the "staircase" of lines, you can't unsee it.
Most people struggle because they try to count every single individual line from the beginning. Don't do that. It’s a waste of time and a recipe for eye strain. Instead, you need to understand that the length of the line tells you exactly what it represents. The longest lines are your whole numbers. The next longest is the half-way point. It keeps breaking down into smaller and smaller fractions from there. If you’re working on a home DIY project or just trying to help a kid with homework, getting this right saves a lot of frustration.
The Secret Language of Line Lengths
The US Standard (Imperial) ruler is the one that trips everyone up. Metric is easy—it’s just tens. But the Imperial system is based on halves. Imagine a one-inch space. Now, chop it in half. That longest mark in the middle? That’s your 1/2 inch.
Now, chop those halves in half again. You get slightly shorter lines. Those are your quarters. You’ll see one at the 1/4 mark and another at the 3/4 mark. Notice how the 2/4 mark is actually just the 1/2 inch line? That’s why it’s longer. The ruler is literally a physical graph of fractions.
Breaking Down the 16ths
If you look really closely, you'll see tiny, tiny lines. Most standard rulers in the US go down to 1/16 of an inch. Some high-precision ones for machining or drafting go down to 1/32 or even 1/64, but for 99% of human life, 1/16 is the "final boss."
- The Big Guys: The whole inch marks. They usually have the numbers next to them.
- The Middle Child: The 1/2 inch mark. It’s the tallest line that isn’t a whole number.
- The Quarters: Slightly shorter than the half.
- The Eights: Shorter still.
- The Sixteenths: The shortest lines on the board.
Basically, if you’re looking at a measurement and it lands on a very short line, you know the denominator of your fraction is going to be a larger number, like 8 or 16. If it lands on a tall line, it's a "cleaner" fraction like 1/4 or 1/2.
Metric is Actually Much Simpler
We should probably talk about the other side of the ruler. The metric side. It uses centimeters (cm) and millimeters (mm). Unlike the chaotic fractional world of inches, metric is purely decimal. There are 10 millimeters in every centimeter. That’s it. No quarters, no eighths, no math that makes your brain bleed.
If you are three little lines past the 5cm mark, it is 5.3 centimeters. Or 53 millimeters. It’s incredibly logical. Scientists and engineers prefer this for a reason. There’s less room for "user error" when you're just counting to ten. If you’re learning how to read a ruler for the first time, I honestly recommend starting on the metric side just to get your confidence up before tackling the Imperial fractions.
Where Most People Mess Up
The biggest mistake? Starting at the very edge of the physical ruler.
Stop doing that.
On many cheap wooden or plastic rulers, the "zero" line isn't the actual physical edge of the object. There’s often a little bit of "dead space" before the first mark. If you align the wood edge with your paper, your measurement will be off by about 1/16th of an inch. Always look for the line marked "0" or the first long inch mark. Sometimes, the 0 is indented a few millimeters from the edge to account for wear and tear. If the corners of your ruler get rounded off from being dropped, you can't trust the edge anymore anyway.
Practical Tricks for Precision
If you’re trying to be super precise—maybe you’re cutting trim for a house or measuring a piece of glass—try the "Thief's Trick." Instead of starting at 0, start your measurement at the 1-inch mark. Hold the 1-inch line exactly on the edge of what you’re measuring. Then, when you look at the other end, just subtract one inch from the total.
Why do this? Because it’s much easier to align a sharp line in the middle of the ruler with the edge of an object than it is to guess if the rounded-off corner of the ruler is perfectly flush. Just don’t forget to subtract that inch! I’ve seen pros ruin expensive wood because they forgot they started at one.
Understanding the 1/8th and 1/16th Dance
Let’s say you’re measuring a picture frame. You see it’s past the 5-inch mark. It’s past the 1/2 inch mark. It’s sitting on one of those medium-short lines.
Count the "eights."
1/8, 2/8 (which is 1/4), 3/8, 4/8 (which is 1/2), 5/8... okay, it's on the 5/8 mark.
If it’s even smaller, you count the 16ths. It sounds tedious, but after a week of doing this, your brain starts to "see" the 5/8 mark without counting. It's like reading a clock. You don't count the little minute ticks to know it's 2:45; you just recognize the position of the hands.
Why This Still Matters in a Digital World
You might think, "I have a laser measure" or "my phone has an app for this." Sure. Those are cool. But lasers fail on reflective surfaces and phone apps are notoriously "ish" when it comes to accuracy. A physical, hard-edge ruler doesn't need batteries.
Knowing how to read a ruler is a foundational skill for everything from interior design to basic repairs. If you call a hardware store and ask for a bolt that is "seven little lines long," they won't be able to help you. If you tell them you need a 7/16-inch hex bolt, you’re in business.
Actionable Steps to Master the Ruler
- Check your zero. Look at your ruler right now. Does the measurement start at the physical edge or at a printed line? Knowing this prevents every future mistake.
- Identify the "staircase." Look at the varying heights of the lines. Spend thirty seconds just acknowledging that the 1/2 is taller than the 1/4, and the 1/4 is taller than the 1/8.
- Practice the "Shift-One" method. Next time you measure something small, start at the 1-inch mark for better visibility.
- Memorize the "Big Three" decimals. If you’re converting to digital tools, remember: 1/4 is .25, 1/2 is .5, and 3/4 is .75.
- Get a "Center-Finding" ruler. If you do a lot of crafts, these have 0 in the middle and count upwards in both directions. It makes finding the midpoint of a board insanely easy.
Stop guessing. The lines are there to help you, not confuse you. Once you respect the line lengths, the ruler stops being a mystery and starts being the most reliable tool in your drawer.