You bought the Pro. Maybe the Air. You were told it could replace your laptop, yet here you are, fumbling with a single app window like it’s 2012. It’s frustrating. Honestly, the biggest hurdle to learning how to multitask on iPad isn't the hardware; it’s the fact that Apple has buried three different multitasking systems inside one operating system.
Most people just want to check an email while watching a YouTube video. It sounds simple. But then you’re swiping, pinching, and accidentally closing your work. If you feel like your fingers are playing a game of Twister just to move a window, you aren’t alone. Apple's "Stage Manager" was supposed to fix this, but for many, it just added another layer of "what does this button do?"
Let's break down the reality of using an iPad for actual work.
The Three Flavors of iPad Multitasking
Apple doesn't just give you one way to do things. That would be too easy. Instead, you have Split View, Slide Over, and Stage Manager.
Split View is the old reliable. It lets you tuck two apps side-by-side. Think of it like a digital marriage; they’re stuck together until you forcibly pull them apart. Then there’s Slide Over. This is that floating window that hovers on the right side of your screen. It’s great for a quick Slack check or a calculator, but it’s easy to lose track of where it went.
Then we have the big one: Stage Manager. Introduced with iPadOS 16.1, this was the "pro" feature everyone clamored for. It brings a Mac-like experience to the tablet. You get overlapping windows. You get a dock that stays visible. You even get the ability to resize things, sort of. If you have an M1 chip or later, this is where the real power lives.
Split View: The Bread and Butter
To get started, open any app. Look at the top of the screen. See those three little dots? That’s your multitasking menu. Tap it. You’ll see icons for full screen, Split View, and Slide Over. Tap the middle one. The app slides to the side, revealing your home screen. Pick your second app. Boom. You’re multitasking.
You can drag that little vertical divider in the middle to give one app more room. If you’re writing a paper in Pages and need a Safari window for research, a 50/50 split is usually too cramped. Try the 70/30 split. It feels more natural.
Why Stage Manager Changes Everything (And Why It Doesn't)
If you're using a modern iPad—specifically an iPad Air (5th gen) or any iPad Pro with an M-series chip—you have access to Stage Manager. You turn it on by swiping down from the top right to open Control Center and tapping the icon that looks like a little rectangle with three dots next to it.
Suddenly, your iPad feels less like a giant phone.
Windows don't have to be full screen anymore. You can have four apps open at once on the iPad display. If you plug it into an external monitor, you can have four more. That’s eight apps. For a tablet, that’s insane. But here’s the kicker: Stage Manager has a "magnetic" snapping system. You can't just put a window anywhere. It wants to snap to a grid. It can feel like you’re fighting the software.
Federico Viticci of MacStories, perhaps the world’s foremost iPad power user, has spent years documenting these quirks. He often points out that while Stage Manager is a massive leap forward, it still requires a "mental model" shift. You aren't just using apps; you're managing "stages" or groups of apps.
Quick Tricks for Slide Over
Slide Over is the most misunderstood feature.
- Open an app.
- Swipe up slowly from the bottom to show the Dock.
- Drag a second app icon onto the first one.
- Don't drop it on the edge; drop it in the middle.
Now you have a floating window. You can hide it by swiping it off the right edge of the screen. Need it back? Swipe in from the right. You can actually have a whole stack of apps in Slide Over. Just swipe up on the bottom "pill" bar of the Slide Over window to see them all like a mini App Switcher.
The "Secret" Keyboards and Gestures
If you really want to master how to multitask on iPad, you need to stop touching the screen so much. Use a keyboard. Whether it’s the Magic Keyboard or a cheap Bluetooth one from Amazon, the Command key is your best friend.
Hold down the Command (⌘) key in any app. A cheat sheet pops up. It shows you every shortcut available. Most people don't know that Command + Tab works on iPad just like it does on a Mac. It’s the fastest way to jump between your two most recent apps.
Also, try the five-finger pinch.
Place five fingers on the screen and pinch inward. It takes you home instantly. Swipe left or right with four fingers to cycle through every app you have open. It’s fluid. It feels like the future when you get the muscle memory down.
Drag and Drop is Overpowered
You’re in Mail. You need to send a photo. Don’t use the "attach" button. Open Photos in Split View. Tap and hold a photo until it "lifts" off the screen. Keep your finger down, move it over to the Mail window, and let go.
It works with text, too. Highlight a paragraph in Safari, drag it, and drop it into Notes. This is where the iPad actually beats a traditional laptop for speed. It’s tactile.
External Monitor Support: The Real Pro Move
For a long time, plugging an iPad into a monitor just mirrored the screen. It was useless. Big black bars on the sides. Terrible.
Now, if you have an M1 iPad or better, Stage Manager allows for full external display support. Use a USB-C to HDMI cable or a Thunderbolt dock. You get a second, independent desktop. Use a mouse. Seriously. Multitasking on a 27-inch monitor with an iPad is a completely different experience. You can keep your "communal" apps like Slack and Music on the iPad screen while doing your "deep work" on the big monitor.
Common Friction Points
It’s not all sunshine. Some apps still don't support Split View. Instagram is a notorious offender. It just sits there, a narrow vertical strip, refusing to play nice with others. When you encounter an app that won't split, your only real option is to use it in Slide Over or hope the developer eventually updates it.
Then there’s the memory issue.
Even though the iPad Pro has plenty of RAM, iPadOS is aggressive about killing background processes. If you have a massive spreadsheet open and you switch away to play a game for twenty minutes, don't be surprised if that spreadsheet has to reload when you come back. It’s a safety measure for battery life, but it can be a pain for heavy multitaskers.
The Shelf
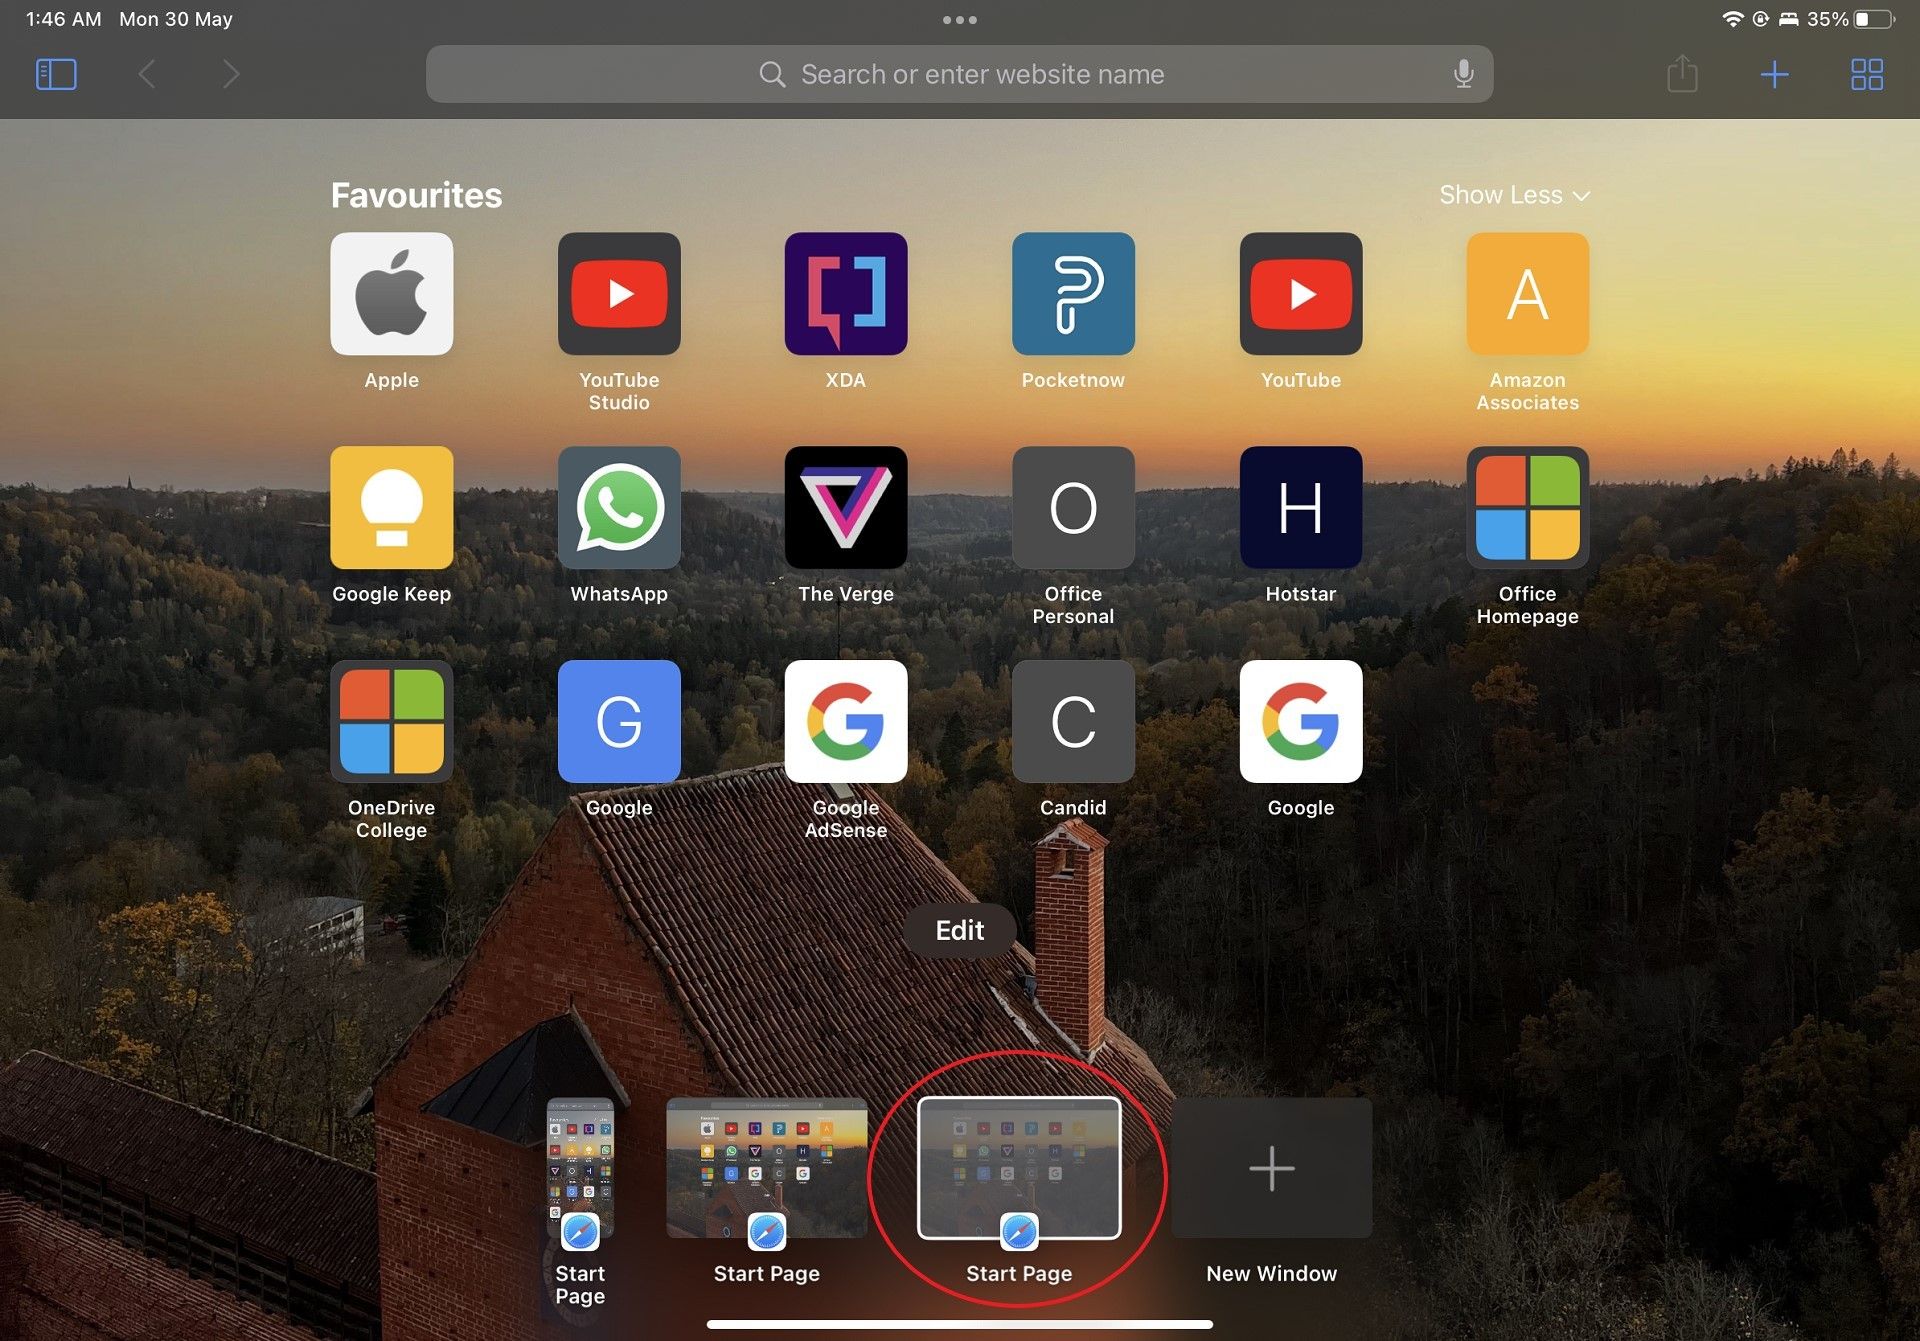
When you open an app that has multiple windows—like Safari or Notes—iPadOS shows you "The Shelf" at the bottom. It shows every open window for that specific app. This is how you manage multiple Word documents. Tap the three dots at the top of the app, and the shelf appears. It’s a quick way to switch contexts without going back to the home screen.
Practical Steps to Mastering the Workflow
Don't try to learn everything at once. You'll just get annoyed and go back to using one app at a time. Start small.
First, commit to using Split View for one specific task today. Maybe it's watching a tutorial on one side while taking notes on the other. Get used to the way the divider moves. Learn how to swap an app by swiping down from the top of its window.
Second, if you have a compatible iPad, try Stage Manager for exactly one hour. It will feel clunky at first. The windows will snap to places you didn't intend. But try to group apps by project. Put your "Writing" apps in one group and your "Finance" apps in another. Use the sidebar to switch between them.
Third, learn the "Globe" key shortcuts. If you use an Apple keyboard, that little globe icon in the corner is a multitasking powerhouse. Globe + Up Arrow shows the App Switcher. Globe + Left/Right switches apps. It keeps your hands off the glass and on the keys, which is the secret to true productivity.
Multitasking on this device is a journey of discovery. It’s about finding the specific combination of swipes and clicks that fits your brain. Once it clicks, the iPad stops being a media consumption device and starts being the powerhouse you paid for.
Next Steps for Mastery:
- Audit your hardware: Check if your iPad model supports Stage Manager (M1 chip or later) to know which features are available to you.
- Enable Stage Manager: Open your Control Center and toggle the Stage Manager icon to experiment with overlapping windows.
- Master the "Three-Dot" Menu: Practice toggling between Split View and Slide Over using the multitasking controller at the top of your apps.
- Connect a Peripheral: Hook up a physical keyboard and hold the Command key to memorize the shortcuts that eliminate the need for touch gestures.
- Organize your Groups: Create one "Stage" in Stage Manager with three related apps (e.g., Calendar, Reminders, and Notes) to see how window grouping improves your workflow.