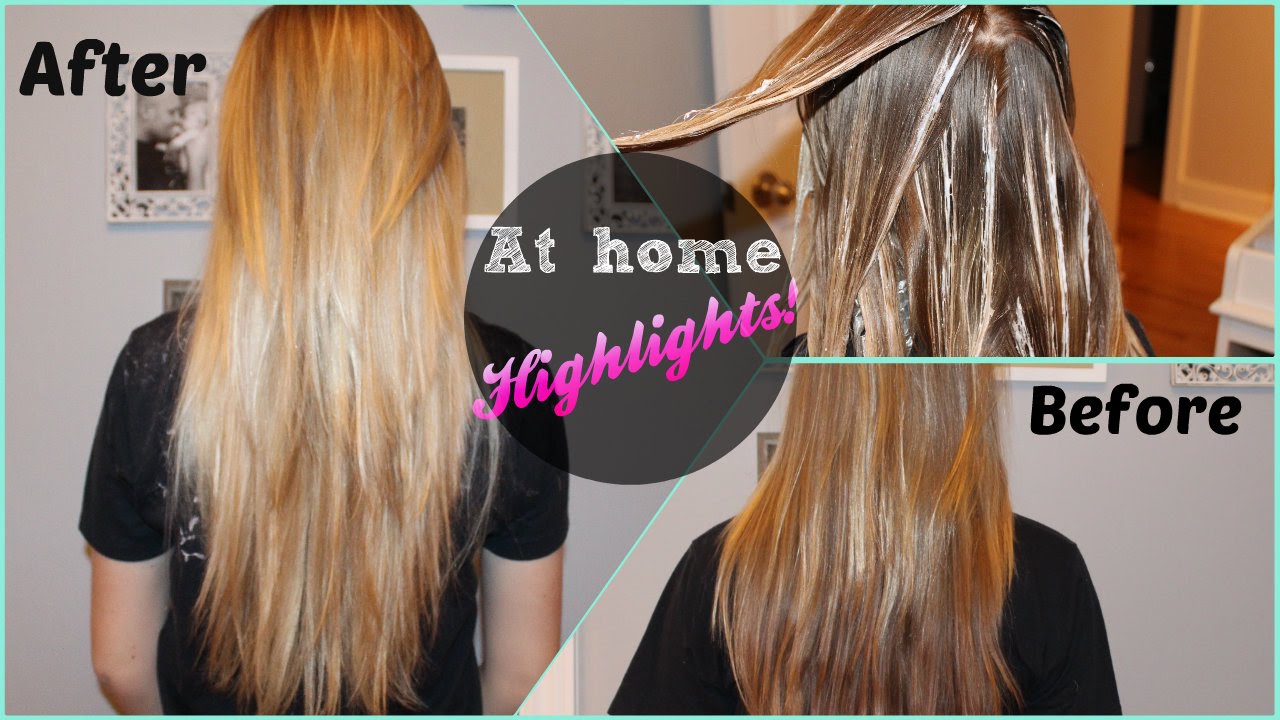
You’ve probably seen the photos. That grainy 90s aesthetic where someone is sitting in a salon chair, wearing what looks like a perforated silicone swim cap, while a stylist meticulously pulls tiny strands of hair through holes with a metal crochet hook. It looks a bit like a medieval torture device, honestly. But then you see the cap highlights before and after results. Suddenly, that "torture" makes sense because the precision is almost impossible to replicate with modern foiling or balayage.
High-contrast streaks. Perfectly even distribution. No "bleeding" at the roots.
For a long time, the hair industry acted like the highlighting cap was a relic of the past, something your grandmother did in her kitchen with a box kit. But fashion is cyclical. With the rise of "Scandi hairline" trends and the obsession with Y2K "piecey" highlights, the cap is back in professional salons. It isn't just for DIYers anymore. It’s for anyone who wants that specific, sun-kissed look that starts right at the scalp without the bulk of a hundred foil packets.
The Raw Reality of the Process
Let’s get real for a second. The "before" stage of cap highlights before and after isn't glamorous. If you have long hair, getting that cap on is a workout. Your hair has to be bone-dry and brushed within an inch of its life. If there’s a single knot, that crochet hook is going to snag it, and you’ll feel it.
Once the cap is snug—and it needs to be tight to prevent the bleach from seeping underneath—the "hooking" begins. This is where the magic (and the patience) happens. A stylist isn't just pulling hair at random. They’re choosing specific holes to create a pattern. If they want a subtle look, they might hit every third hole. For a heavy blonde transformation, it’s every single one.
The "before" looks like a strange, rubbery hedgehog. The "after" looks like you spent three months in the Maldives. The transition is jarring in the best way possible.
Why the "After" Hits Different Than Foils
Why bother with a cap when foils exist? Foils are great for "lived-in" color and ombre, but they have a weakness: weight. When you put forty foils in someone’s hair, they start to slip. That slippage causes "bleed marks" or "tiger stripes" near the root.
A cap doesn't slip.
Because the hair is isolated through the silicone barrier, the bleach stays exactly where it’s put. This results in a cap highlights before and after gallery that shows much tighter, more consistent "babylights." You get this shimmering effect where the highlights blend seamlessly into the natural base color because the strands are so fine.
The Science of "Lift" Under Silicone
There’s also the heat factor. A highlighting cap acts as a natural insulator. Your scalp produces heat, and that heat gets trapped under the silicone, which actually helps the lightener work more efficiently. According to veteran colorists like Beth Minardi, consistent heat is the key to an even "lift." In a foil, the heat can escape through the sides. Under a cap? It’s a literal greenhouse for your hair pigment. This is why you often see a much cleaner, brighter blonde in the "after" photos of cap sessions compared to open-air painting.
Common Pitfalls: When the "After" Goes Wrong
It's not all sunshine and perfect blonding. I’ve seen some disastrous cap highlights before and after shots where the person ended up looking like a leopard. This usually happens because of "bleeding."
If the lightener is too runny, it slides down the hair strand and pools under the cap. When you pull the cap off, you have these big, orange blobs at the roots. It’s a nightmare to fix. Experts like those at the Guy Tang Mydentity labs often suggest using a high-viscosity lightener—basically, bleach that has the consistency of thick toothpaste—to prevent this.
Then there’s the "hook breakage." If a stylist is too aggressive, they can actually snap the hair off at the root. This is why the "before" prep is so vital. If your hair isn't conditioned and detangled, you’re losing volume before the color even touches your head.
Who Is This Actually For?
Short hair? The cap is your best friend.
Pixie cuts are notoriously hard to foil. Try folding a piece of aluminum around a two-inch strand of hair; it’s like trying to wrap a single blueberry in gift wrap. It just doesn't work. The cap allows for precise placement on even the shortest crops.
However, if you have thick, curly hair, think twice. The process of pulling curls through those tiny holes can be genuinely painful and can disrupt your natural curl pattern if the hair is stretched too thin. For the curly community, the "after" might look great, but the damage to the hair's elasticity during the "pulling" phase might not be worth it.
The Longevity Factor
One thing people don't talk about enough is how these highlights grow out. Because cap highlights are usually very fine, the "regrowth" line is softer than traditional chunky foils. You don't get that harsh horizontal line across your head after six weeks. It looks more like a natural fade.
Basically, you’re buying yourself more time between salon visits.
Modern Tweaks to an Old Method
Today's "pro" caps aren't the flimsy plastic bags from the 80s. Brands like Eco-Cap have developed reusable, anatomical silicone versions that fit the contour of the skull. This prevents the "baggy" sections that used to cause most of the bleeding issues. Some stylists are even "double-processing" with caps—doing the highlights, then applying a toner or a "shadow root" over the whole head after the cap is removed to give it a more modern, expensive finish.
Making It Happen: Actionable Steps
If you’re looking at cap highlights before and after photos and thinking about taking the plunge, don't just grab a kit at the drugstore and hope for the best.
- Prep your hair. Deep condition three days before. Don't wash your hair the day of the appointment; the natural oils protect your scalp from the bleach that might sit against the skin through the holes.
- Choose the right hook. If you're doing this at home (brave soul), use a metal hook, not the plastic one that comes in the box. The plastic ones flex and snap. Metal gives you control.
- Consistency is king. Mix your bleach to a thick consistency. If it looks like soup, add more powder. You want it to stay exactly on the strand you pulled through.
- The "Removal" Trick. Never pull the cap off dry. Once you've rinsed the bleach out (with the cap still on!), apply a massive amount of conditioner over the wet hair and the cap. It will slide off like butter. If you pull it off dry, you're going to pull out half your hair.
- Toning is non-negotiable. Raw bleach almost always looks "raw." You need a purple or blue-based toner afterward to turn that "after" from "yellow highlighter" to "cool champagne."
The cap isn't a shortcut. It's a specific tool for a specific look. When done right, it offers a level of detail that even the most expensive balayage can't quite touch. It’s about that pinpoint accuracy. Just be prepared for the "hedgehog" phase in the middle. It's worth it for the glow-up.